Free the Tortured PrisonerLords of the Fallen Quest |
||||
|---|---|---|---|---|
 |
||||
| Location | Skyrest Bridge | |||
| NPC(s) | Tortured Prisoner | |||
| Reward(s) |
|
|||
Free the Tortured Prisoner is a Quest in Lords of the Fallen (LotF). The Free the Tortured Prisoner introduces an NPC that can serve as a companion, as well as a Merchant in LotF. Players can complete various tasks such as Quests, which are the different missions or requests that players are given in the game. Quests can be acquired by progressing the game's story which triggers events or conditions, or by interacting with NPCs and accepting their requests.
Some Quests are accessible only in the Umbral Realm in certain Locations and require the player to cross over. For more in-depth information about the Locations in Lords of the Fallen, visit our page here.
Lords of the Fallen How to Start Free the Tortured Prisoner
- Free the Tortured Prisoner can be started by going to Skyrest Bridge, and exploring the crypt to interact with the Tortured Prisoner while she is still locked up.
- Nearest Vestige: Vestige of Ethryg
LotF Free the Tortured Prisoner Quest Information
- Relevant NPCs: Tortured Prisoner
- Objectives: Solve the Mausoleum Puzzle in Skyrest Bridge, remove the Umbral Tumor,s and bring the x1 Searing Accusation to the Tortured Prisoner to free her from the cell.
Lords of the Fallen Free the Tortured Prisoner Quest Rewards
- x1 Tortured Prisoner's Head Cage
- Unlock the Tortured Prisoner as a companion and Merchant
- Queen Sophesia's Ring
- Queen Sophesia's Catalyst
Lords of the Fallen Free the Tortured Prisoner Quest Walkthrough
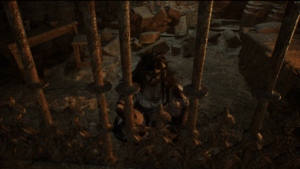
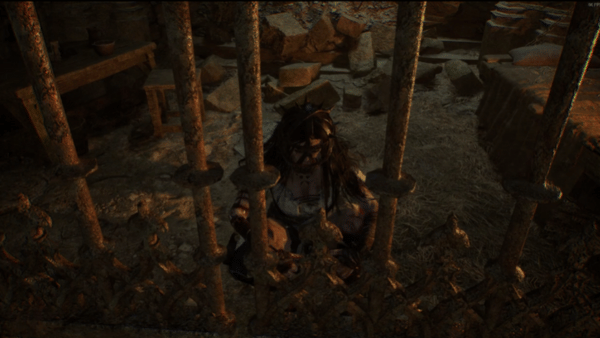
As you explore the crypt inside the Skyrest Bridge, you will find the Tortured Prisoner locked inside one of the cells. There isn't much dialogue here because she appears unable to speak, and there's a contraption wrapped over their head. To free the Tortured Prisoner, you will need to solve a puzzle in the Umbral Realm, which also involves destroying Umbral tumors. To get inside the crypt, you will first need the Skyrest Bridge key. Please refer to the Locations: Skyrest Bridge page for a more detailed guide on how to reach the crypt and where to get the Skyrest Bridge Key to unlock the doors.
HOW TO SOLVE THE SKYREST BRIDGE PUZZLE IN LORDS OF THE FALLEN
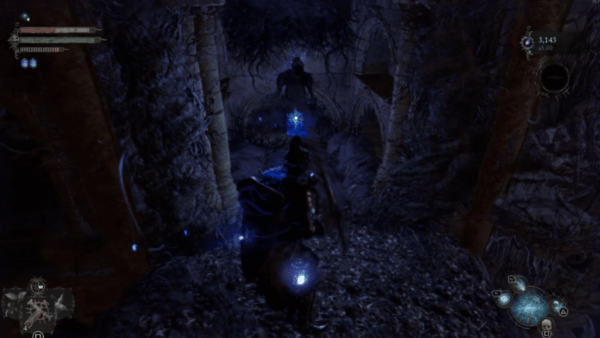
To free the Tortured Prisoner in Lords of the Fallen, you need to cross over to the Umbral Realm. From the Tortured Prisoner's cell, use the spiral stairs until you reach the ground level where you see the suspended bridge and tombs. As soon as you exit the archway, cross over the Umbral Realm if you haven't, then look at the top right of the wall where you just came from. You will see the first Umbral tumor here, then destroy it by soulflaying.

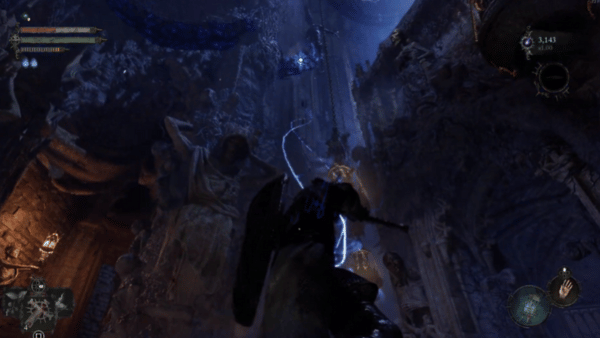
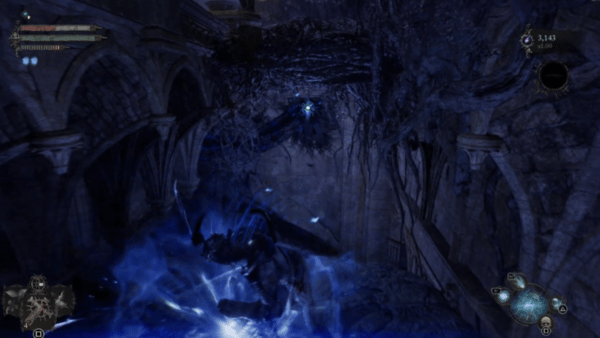
If you follow the movement of the light, you will see that it will go to an entity on the left section of the wall. Ignore this for now, and keep looking for the other 2 Umbral tumors. The second umbral tumor is located at the left wall beneath the bridge. As you destroy the second tumor, a stone platform will move toward you. Jump down on the platform then look behind you to find the third tumor. Destroy it, then use the tumor on the other end to get out of the floating platform using the ladder. Climb up to the right side of the wall where the light was seen traveling. Destroy it once again and pick up the x1 Searing Accusation.

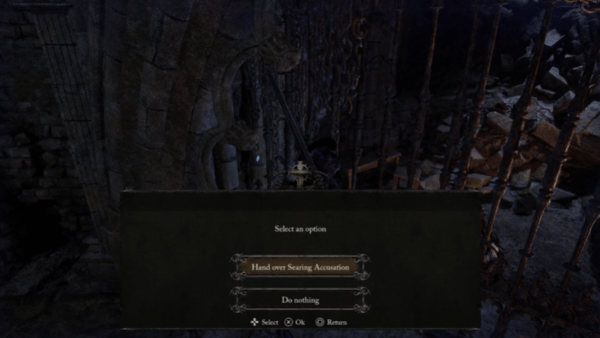
Bring the item back to the Tortured Prisoner where you found her. She will respond to you in the same manner of muffled sounds. After that, return to the Main Hall of the Skyrest Bridge and rest in the nearest Vestige. Go back to the Tortured Prisoner's cell and you will find that it was already unlocked and you can pick up x1 Tortured Prisoner's Head Cage.

After freeing the Tortured Prisoner, they now become available as a co-op summon during boss fights as well as a Merchant that you can interact with where you fought Pieta, She of Blessed Renewal (top of Skyrest Bridge).
The Tortured Prisoner Becomes a Merchant at the top of Skyrest Bridge
To progress the quest of the Tortured Prisoner, you need to give her the Giant Eyeball that is acquired after defeating the Spurned Progeny. Bring back this item to the Tortured Prisoner outside the arena where you fought Pieta, She of Blessed Renewal towards the end of Abandoned Redcopse.
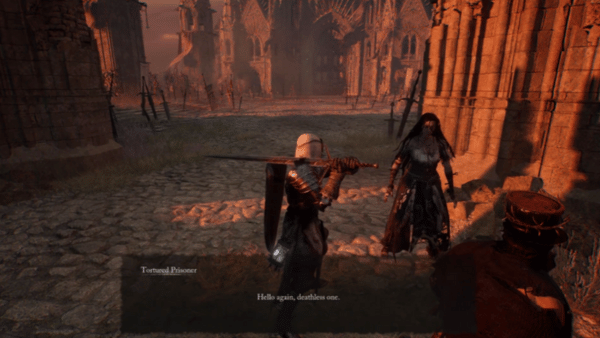
After this encounter, this will prompt the Tortured Prisoner to move to the arena where you fought the Spurned Progeny.
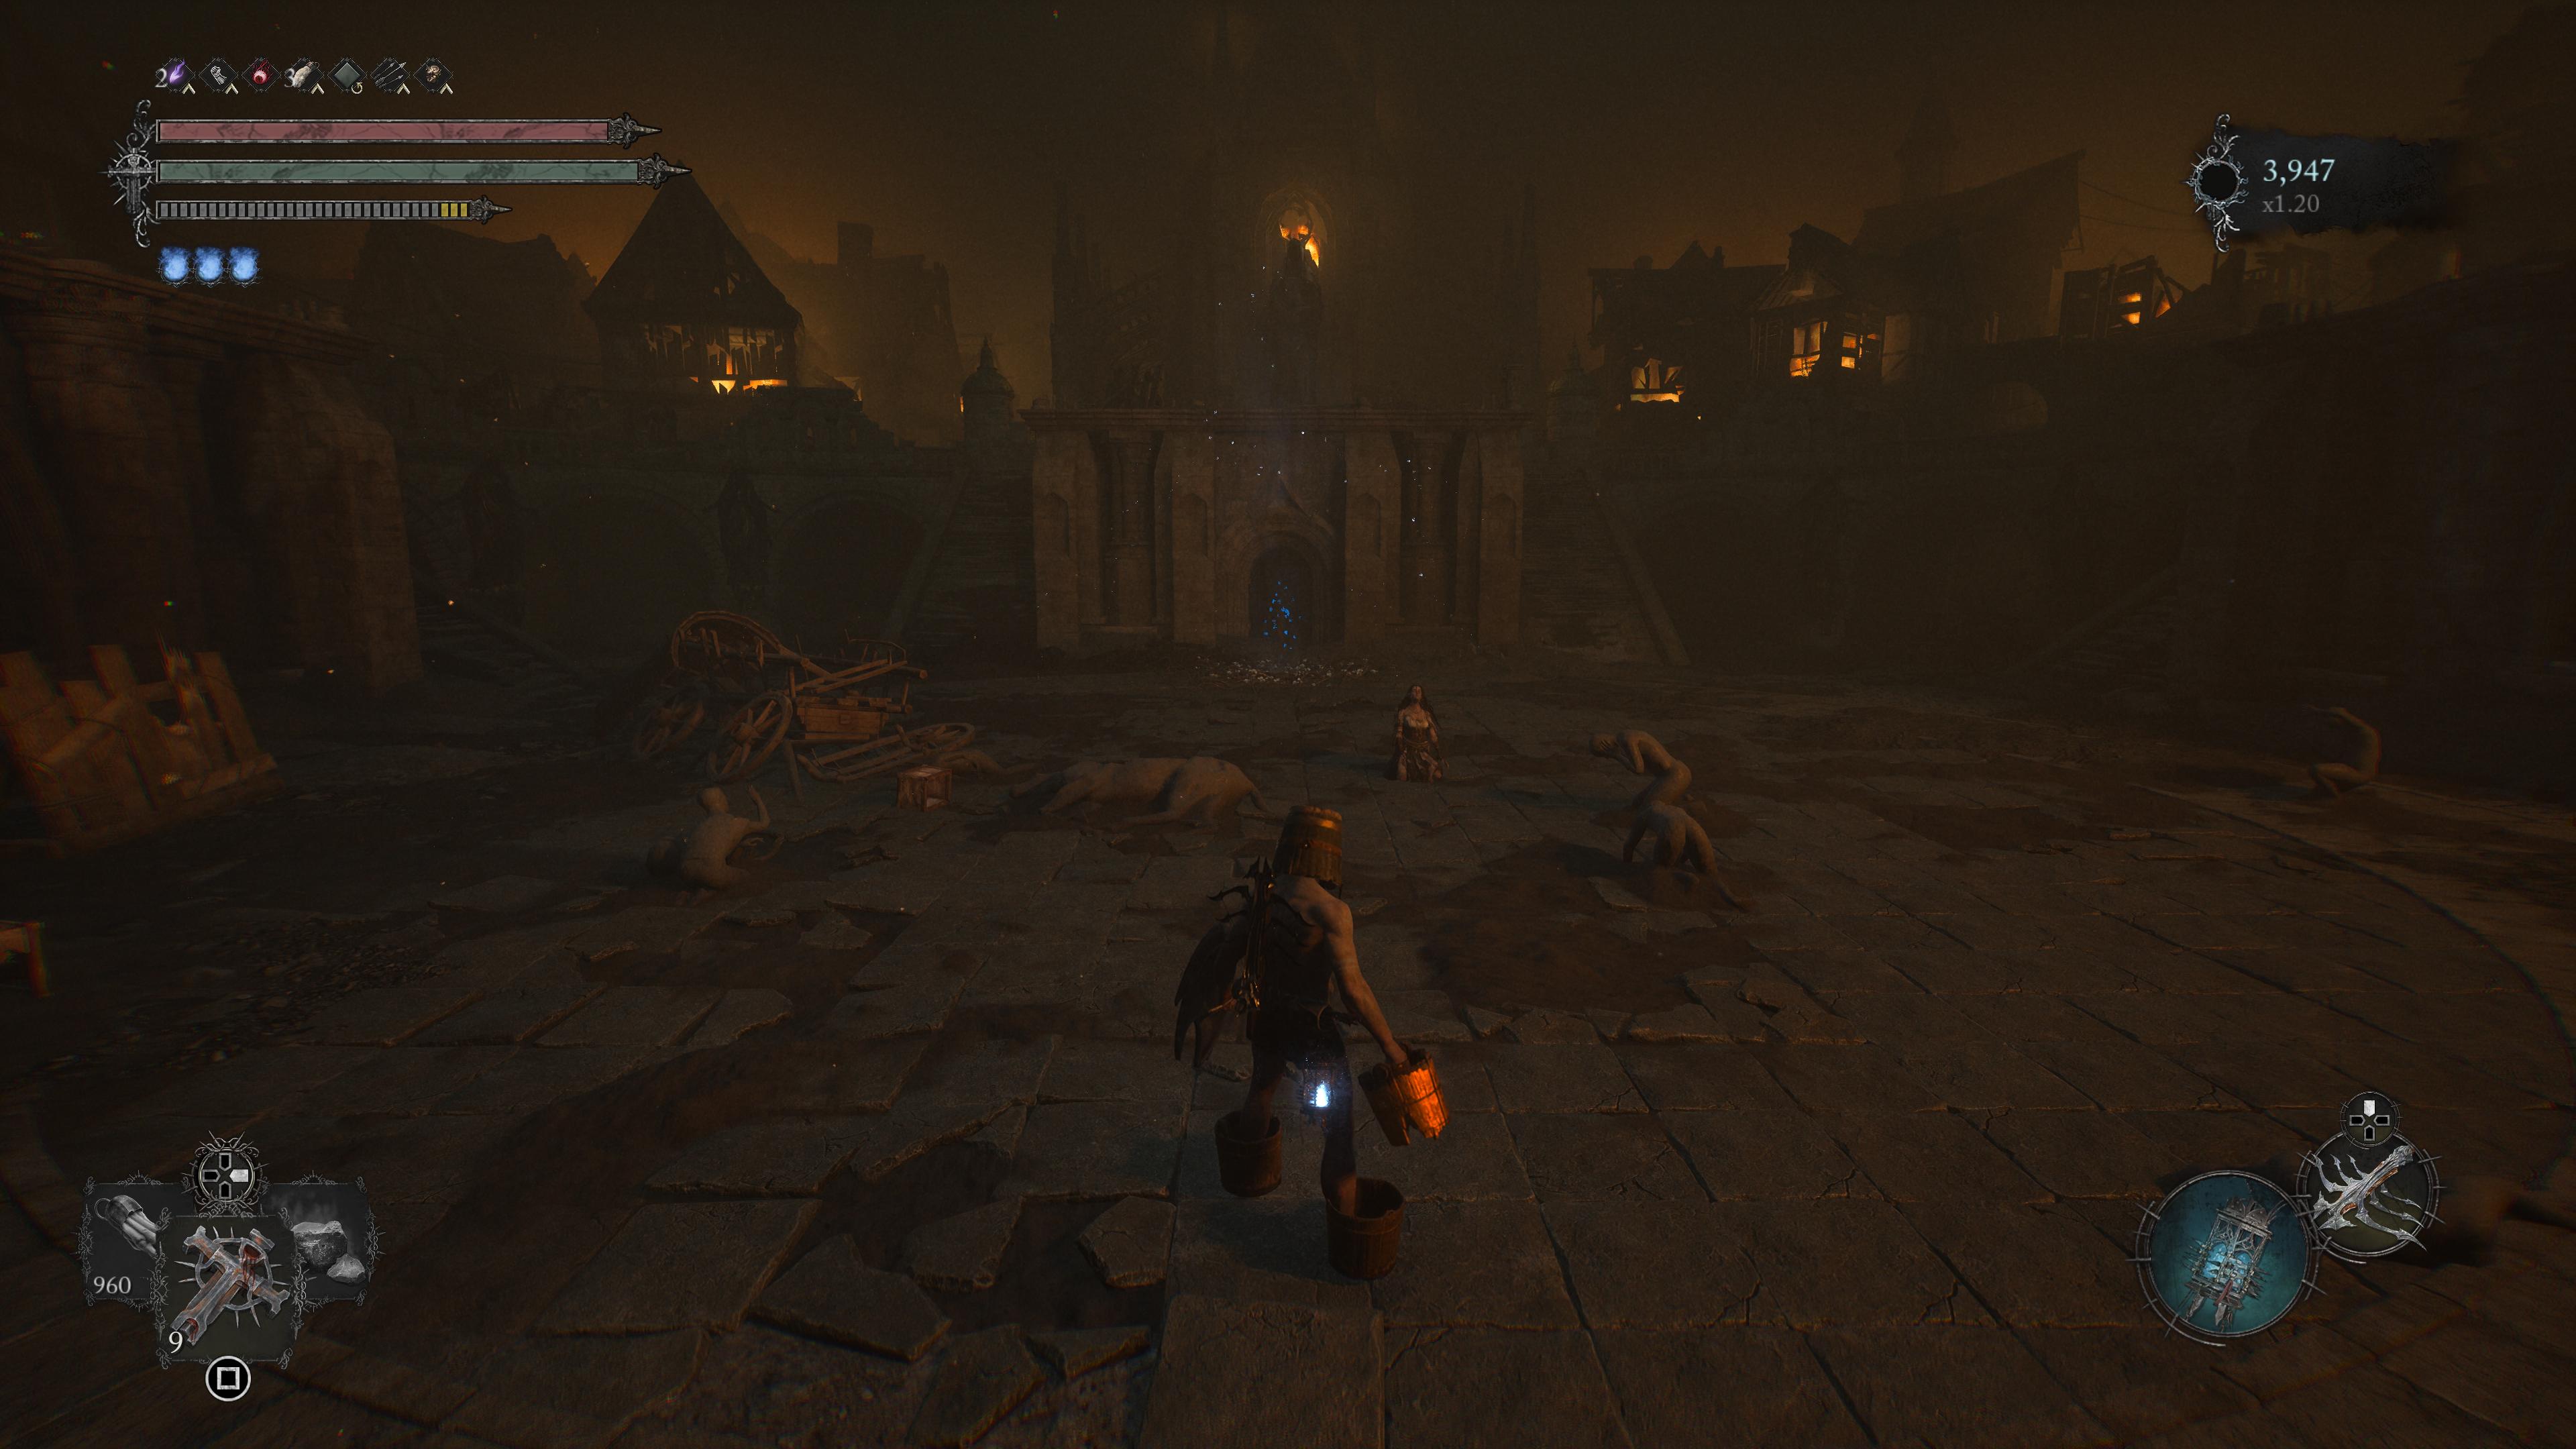
To continue, you will need to retrieve the Noblewoman Set in the marketplace at Upper Calrath. Equip the full set and return to the Tortured Prisoner at the arena of the Spurned Progeny. After doing so, she will move to the Upper Calrath near the entrance of the beacon behind a metal fence. She will now sell new merchandise so make sure to exhaust her dialogues. Find her in her new location and she will give you x1 Elegant Perfume as a reward. Keep this item as this will prove valuable later on.
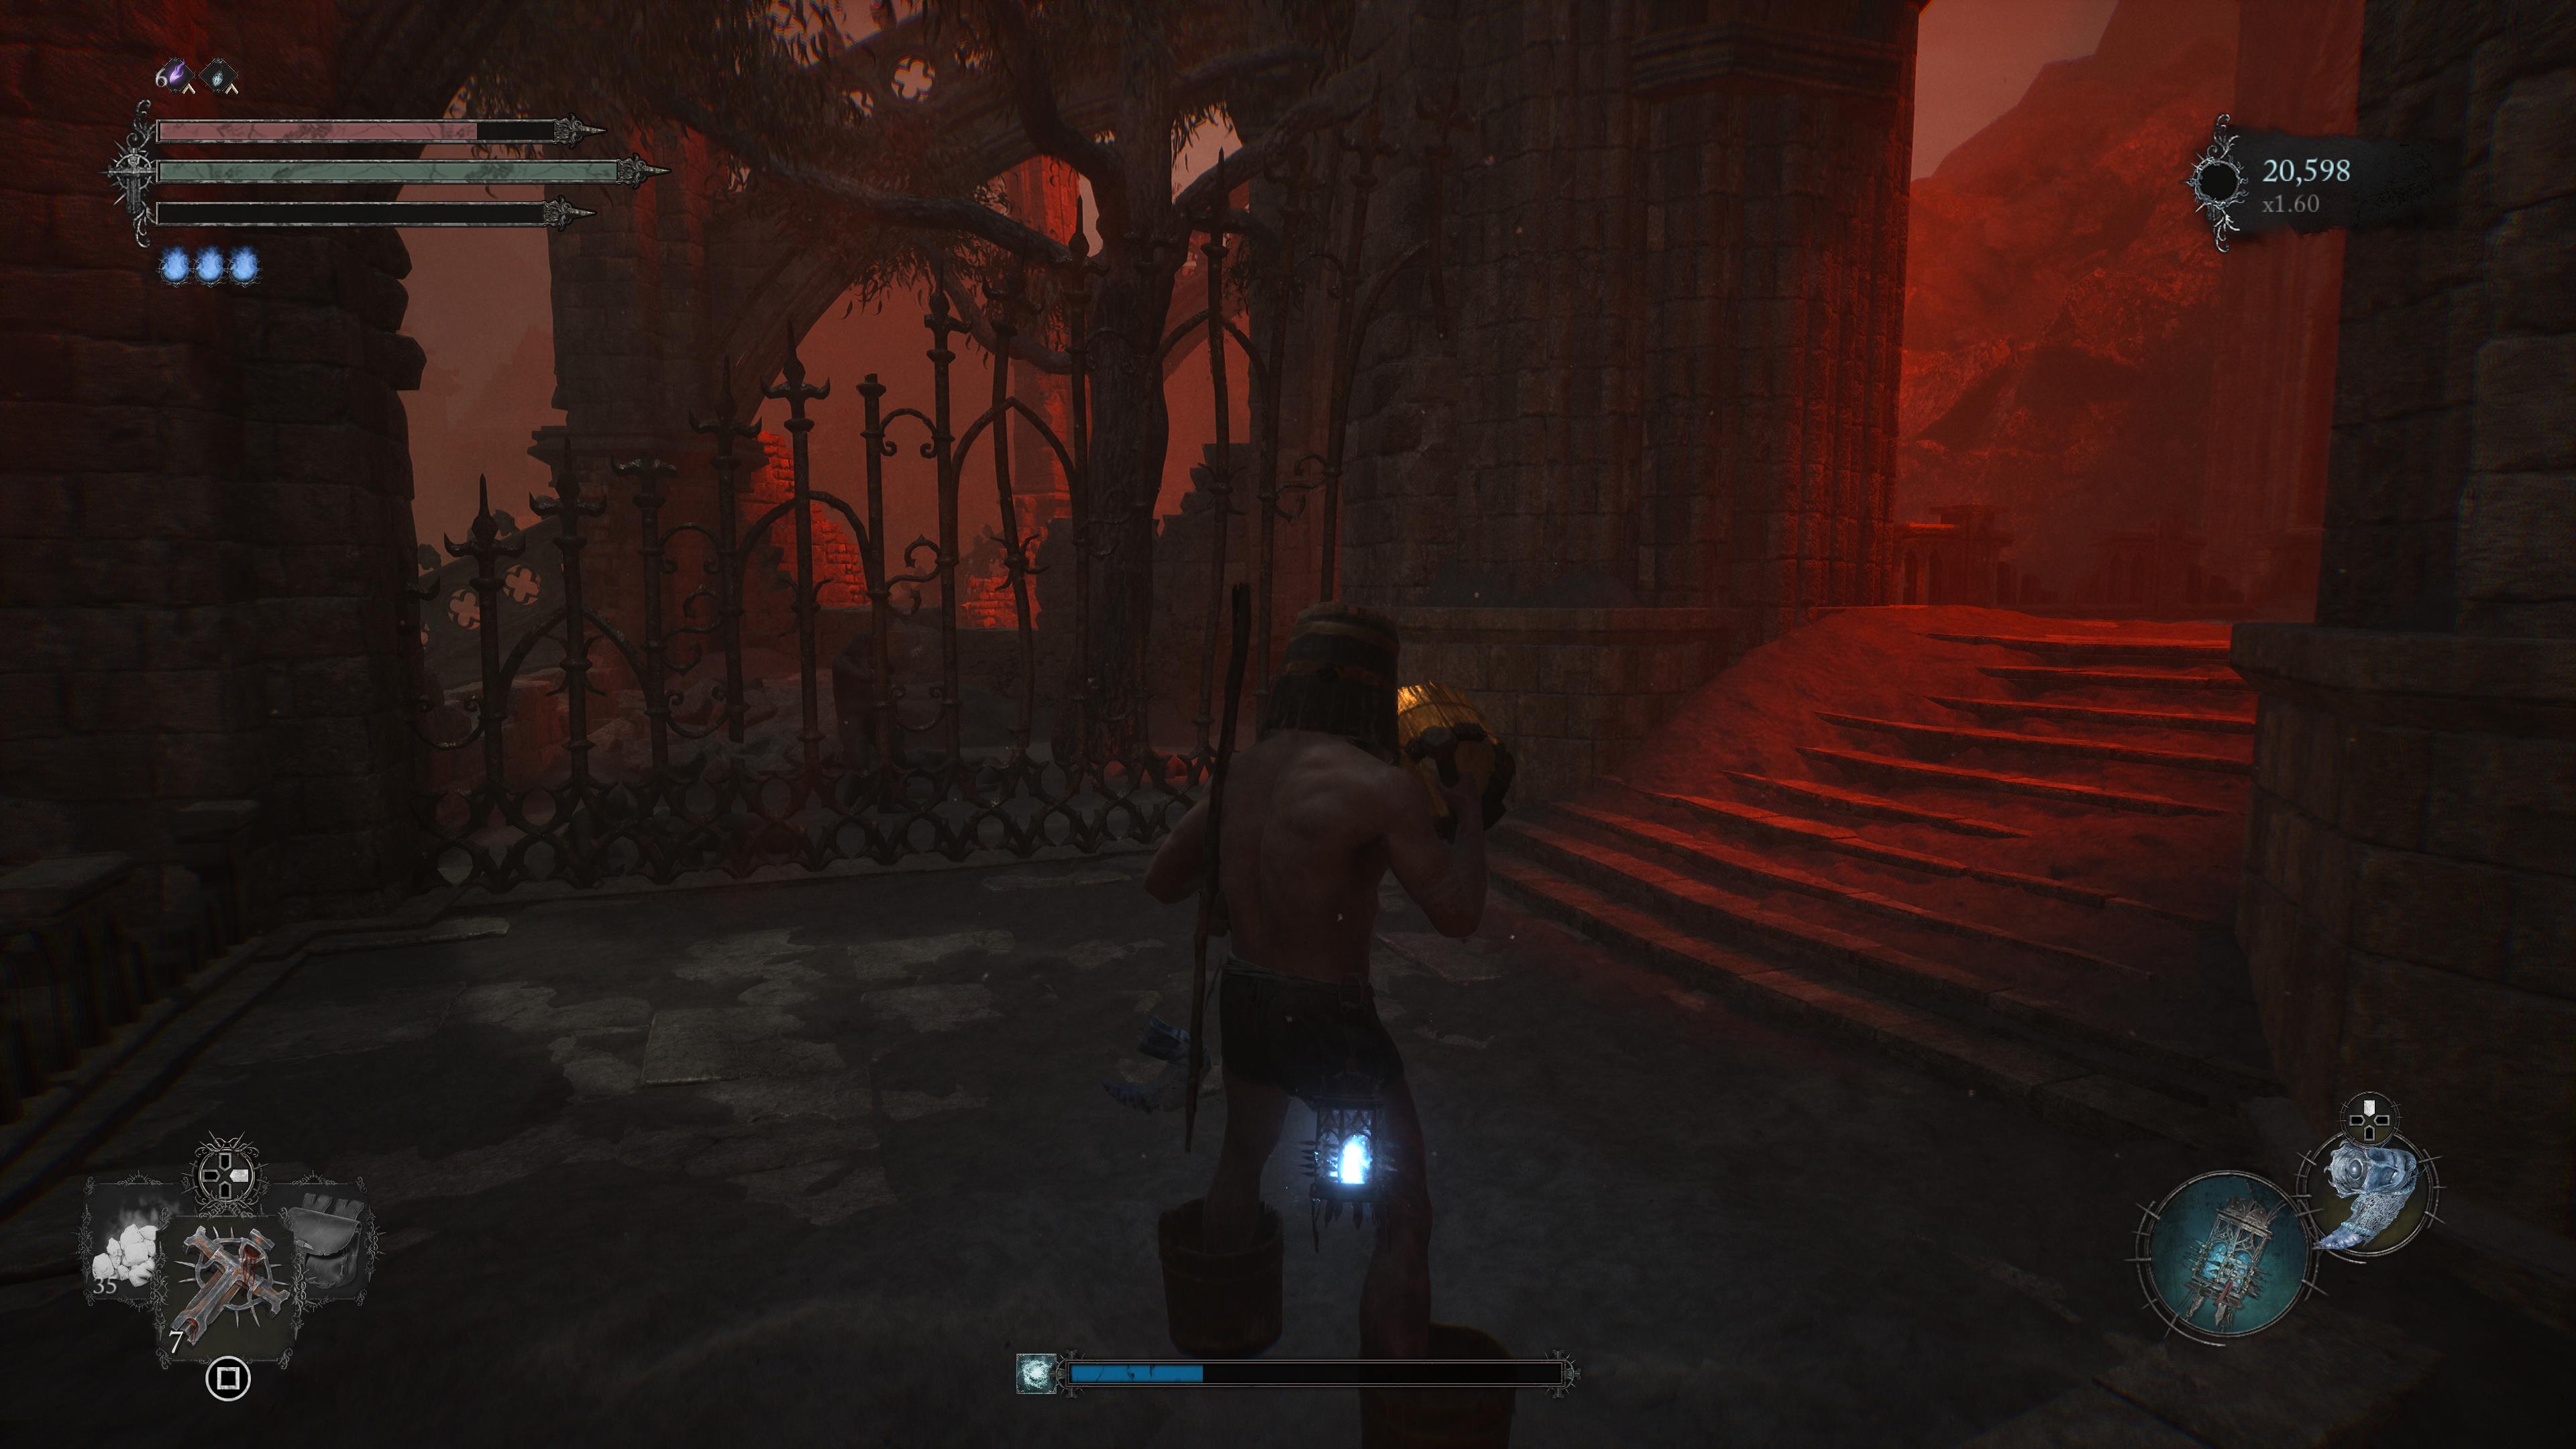
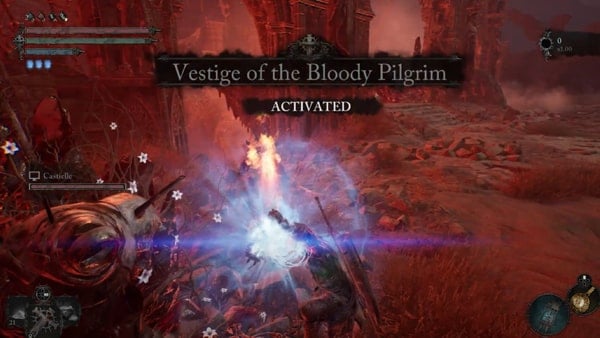
As you progress the story of the game, when you are able to reach the area before you open the gates to Bramis Castle, look for the Charred Letter on the side of the stairs where there's a small fire burning that leads from the lower ward to the upper esplanade where the Vestige of the Bloody Pilgrim is. If you have this Vestige unlocked, simply walk back down the stairs and locate the burning plants on the side of the stairs. Then, take the item back to the Tortured Prisoner in her previous location next to the Beacon in Upper Calrath. You can locate her behind the gated metal fence at the entrance to the beacon. The closest Vestige is the Vestige of the Forgotten Guardian in Upper Calrath.
After giving her the Charred Letter, the Tortured Prisoner will move to the Vestige of the Bloody Pilgrim in Bramis Castle. Make sure to buy everything that you will need from her because, after this area, she will become unavailable as a Merchant. Your next goal is to bring the Swaddling Cloth that is found in the King's Bedroom.
NOTE: Fighting The Sundered Monarch before bringing the Swaddling Cloth to the Tortured Prisoner will cause her to become hostile and fail the quest. You will then find her in the King's bedroom, out on the terrace, and becomes a secondary Boss. This path is the normal way leading to the bedroom (not the shortcut bookshelf door). Otherwise, make use of the Elegant Perfume that she had given you against The Sundered Monarch.
To retrieve the Swaddling Cloth, you will need to gain access to the King's bedroom within Bramis Castle. First, you need the Royal Key to open the doors to the inner area. Once you have it, you will find yourself in a room full of pieces of furniture that used to serve as a study room. You will know that you are in the right section if there is a huge statue in the middle of the area.
Follow the circular path here and you will eventually stumble upon a treasure chest. Head to the upper area by taking the stairs and follow the circular path once again. At the end of the path, proceed by accessing the set of stone staircases leading to the outer ramparts of the castle. Another marker to know that you are in the right place is if you are seeing the supporting pillars in the area. Plant a Vestige Seed on the Umbral Flowerbed here for you to have a checkpoint.

Follow the straightforward pathway and past the wooden platform that will break when you step on it where two Ruiners are guarding the area. This is going to be a tough fight so be patient while dealing with these two. After dealing with the Ruiners, head to the nearest entrance at the back of the enemy you see on the image above, and it will lead you to the King's Bedroom. Retrieve the x1 Swaddling Cloth placed on the baby's cradle. Then, take it back to the Tortured Prisoner in the same previous location as before next to the Vestige of the Bloody Pilgirm.
The final step to this quest is to head into the Throne Room and defeat The Sundered Monarch. Make use of the Elegant Perfume that can cause him to be stunned briefly. After emerging victorious from the fight against the Sundered Monarch, look for the Tortured Prisoner at the top of the stairs in the Throne Room. She will reveal to you that her real identity is Queen Sophesia of Mournstead, and she was imprisoned in the crypt of Skyrest Bridge. Her last act is to give you Queen Sophesia's Ring, just before she falls into an eternal sleep.
This interaction will complete the Free the Tortured Prisoner quest and will give the trophy: A Queen's Rest. Now that the Tortured Prisoner has taken her final breath, visit her previous location near the Vestige of the Bloody Pilgrim in Bramis Castle to retrieve Queen Sophesia's Catalyst.
Lords of the Fallen Free the Tortured Prisoner Quest Notes & Tips
- Other Free the Tortured Prisoner Quest Notes & Tips go here
- Doing a Quest in LotF will reward players with various services or Items and Materials, and unlock more game content such as new areas to explore, expanded Merchant inventory and services, and more upon completion.
 Anonymous
After have been defeated the Spurned Progeny, I went back to the prisoner in front of Pieta Boss fight arena and I give her the Giant Eyeball. After that, she moved, I don't know where. Any idea where she might have moved to? Or maybe she left the world for good. I still had a spell or a piece of armour to buy her.

 Anonymous
In my play through the prisoner is free but still not talking + the helmet wasn't at the cell location. Anybody knows how to fix it ?


Gave her giant eyeball, then spoke to her with the noblewoman set. She moved to Upper Calrath but didn't give any perfume. The nly dialog she has is 'is ghost city still a city? perhaps I will ask scholar... or a corspe' and that's it. Any idea how to fix that?
2
+10
-1