Stigmas |
|---|
 |
|
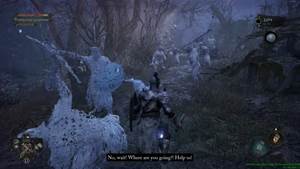
Stigmas are fragments of past events that players can see.
|
Stigmas in Lords of the Fallen (LotF) are fragments of traumatic events that happened in Axiom that players can see when in the Umbral Realm. There are several Stigmas players can find throughout the game, some can be seen as a humanoid figure often with moths flying around it, and some are less obvious with just a swarm of moths.
- Please visit the Walkthrough page for Lords of the Fallen (LotF) for a detailed guide on the main story.
- You can also check our Game Progress Route page for Lords of the Fallen (LotF) for a summarized progression path.
- For other important features of locations, you can check the following pages: Umbral Flowerbed, Vestiges
Fragments of past events, often traumatic, which occurred in Axiom can appear in the Umbral Realm as Stigmas.
What are Stigmas in The Lords of the Fallen?
Stigmas are fragments of past traumatic events that players can see when in the Umbral Realm. In most cases, these fragments contribute to the story and the lore of the game as they reveal past events in Axiom. Some may give background information on some Bosses that players will encounter throughout the game.
How to Interact with Stigmas in The Lords of the Fallen
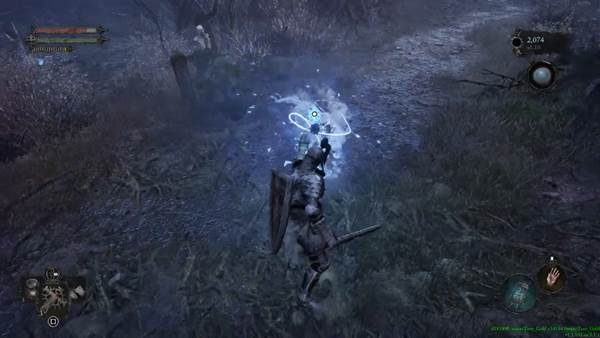
In more obvious situations, a light blue fragment can be seen with moths flying around it. Players will need to rift into the Umbral Relm and "Soulflay" it to reveal past events. Players will be able to hear the environment and the dialogues that occur during these events. Players will be able to obtain Umbral Scourings and occasionally, other items, after interacting and watching the fragment play out, these Umbral Scourings can be used to trade with the NPC Molhu at Skyrest Bridge.
Lord of the Fallen Stigmas Notes & Tips
- Notes, Tips, and Other Trivia for Stigmas in Lords of the Fallen go here.
- Soulflaying a set of Stigmas will lead to unlocking the Dark Crusader Class.
All Stigma Locations in Lords of the Fallen
Lords of the Fallen Abandoned Redcopse ~ Forsaken Fen Stigmas
Click to be redirected to the specific location
Defiled Sepulchre
Stigma of The Lightreaper vs Iorelo the Cursed Knight
- Main Location: Defiled Sepulchre
- Rewards: Umbral Scouring x2
NOTE: This Stigma is only available after defeating The Lightreaper boss.
From the Vestige of Ranik, head down the path on the left until you reach an open field. Past the Umbral Flowerbed is a group of moths, warp into the Umbral and Soulflay the stigma to receive 2 Umbral Scourings.
Abandoned Redcopse
Click on the images attached to enlarge them.
Abandoned Woman's Stigma
- Sub-Location: Redcopse Village Entrance
- Main Location: Abandoned Redcopse
- Reward: Umbral Scouring x2
The Abandoned Woman's Stigma is the first Stigma that players will encounter in Lords of the Fallen. It can be found along the path after activating the Vestige of Hannelore, in the Abandoned Village in the Abandoned Redcopse area. Soulflay the Stigma to gain 2 Umbral Scourings.
Choking Man's Stigma
- Sub-Location: Redcopse Windmill
- Main Location: Abandoned Redcopse
- Rewards: Umbral Scouring x2
From the Vestige of Marco the Axe, head to the cliff on the left next to the metal door with the bell, and warp into the Umbral Realm to create a platform. Once complete, make your way down the platforms and take the path on the right to a shack with a well. Players will find the Stigma to Soulflay there to gain 2 Umbral Scourings.
Skyrest Bridge
Pieta's Stigma
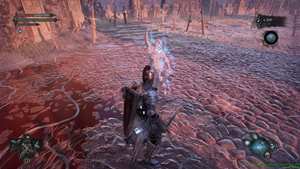
- Main Location: Skyrest Bridge
- Rewards: Umbral Scouring x2, Remembrance of Pieta, She of Blessed Renewal
From the second encounter of the NPC The Iron Wayfarer, take the ladder on the right (to his left) take the stairs up, and follow the path onto the left to find a Boss fight. Players will have to defeat Pieta, She of Blessed Renewal to be able to Soulflay the Stigma to gain 2 Umbral Scourings, and the Remembrance of Pieta, She of Blessed Renewal.
From the Umbral Flowerbed on Skyrest Bridge, head back near the path to the stairs going down but continue onwards to the end where you will find stairs going up. Soulflay the Stigma to receive 2 Umbral Scourings.
Stigma of Andreas of Ebb
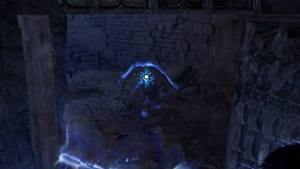
- Main Location: Skyrest Bridge
- Reward: Umbral Scouring x2, Andreas of Ebb's Book of Lineage
From the previous Stigma, head behind to the left and enter the tower to find a fragment of Andreas of Ebb. Soulflay the Stigma to receive 2 Umbral Scourings and Andreas of Ebb's Book of Lineage.
Follower of Adyr's Stigma
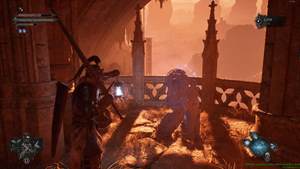
- Sub-Location: Skyrest
- Main Location: Skyrest Bridge
- Rewards: Umbral Scouring x2
From the Vestige of Chabui, head to the right side, take the ladders down and continue along the path. Go through the lifted platforms carefully and continue the path. At the end of the path there will be a lift, take it up to reach the side of Skyrest Bridge. Take the stairs down, and take the right after the path. A swarm of moths can be seen on the right on a small terrace where players can Soulflay the Stigma and receive 2 Umbral Scourings.
Players are required to have used the Skyrest Bridge Key on the double doors from the last Stigma site. Players will be able to find the swarm of moths once heading up the stairs on the left side of the walkway.
From the Vestige of Ethryg, if the double doors have been opened, just go through them and a swarm of moths will be sighted on the right pathway. Soulflay the Stigma to receive 2 Umbral Scourings.
Pilgrim's Perch
Pilgrim's Stigma
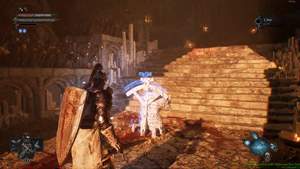
- Sub-Location: Sanctuary of Baptism
- Main Location: Pilgrim's Perch
- Rewards: Umbral Scouring x2
Pass the NPC Thehk-Ihir and drop down the platforms. Follow the path, onto the larger area with various enemies. On the right, there's a set of stairs that is stained and several bells on the sides. Head into the building and warp into the Umbral Realm to see the pilgrim fragment. Soulflay the Stigma and receive 2 Umbral Scourings.
Forsaken Fen
Congregator's Stigma
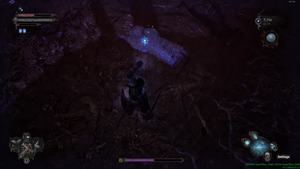
- Sub-Location: Forsaken Fen Lookout
- Location: Forsaken Fen
- Rewards: Umbral Scouring x2, Remembrance of the Congregator of Flesh
From the Vestige of Olleren, head out and follow the path down until the wooden platforms. The platform in the middle will break when you step off it and players will be met with a boss fight with The Congregator of Flesh. Complete the boss fight and Soulflay the Stigma to receive 2 Umbral Scourings and the Remembrance of the Congregator of Flesh.
Lampbearer's Stigma
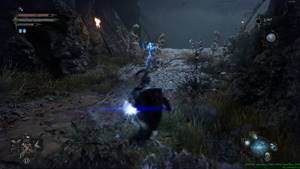
- Sub-Location: Forsaken Fen
- Main Location: Forsaken Fen
- Rewards: Umbral Scouring x2
From the Vestige of Valade, go through the tunnel next to it and defeat the enemies nearby to clear the path. Warp into the Umbral Realm to reveal the ladder, head up the ladder and continue along thee path. At the end of the path, take a sharp left and continue. There will be an area where players can go to the little cliffs or go down the hill, in this case head down the hill. continue down and at the edge of a small cliff there will be a group of months. Soulflay the Stigma and receive 2 Umbral Scouring.
Stigma of a Little Friend
- Sub-Location: Shuja Halmet
- Main Location: Forsaken Fen
- Rewards: Umbral Scouring x2
From the Vestige of the Pale Butcher, head up the right and right after the turn on the left. Warp into the Umbral and there will be a stigma there. Soulflay the stigma and receive 2 Umbral Scourings.
Hushed Saint's Stigma

- Sub-Location: The Hushed Saint Arena
- Main Location: Forsaken Fen
- Rewards: Umbral Scouring x2, Remembrance of the Hushed Saint
The Hushed Saint's fragments can be found at the end of the boss fight with The Hushed Saint. The swarm of moths can be seen in front of the Beacon, Soulflay the Stigma to receive 2 Umbral Scourings and the Remembrance of the Hushed Saint.
Lords of the Fallen Fitzroy's Gorge ~ Upper Calrath Stigmas
Click to be redirected to the specific location
Fitzroy's Gorge
Click on the images attached to enlarge them.
Stigma of a Tower Battle
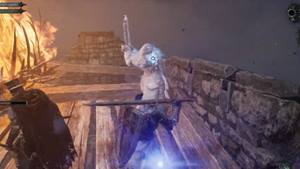
- Sub-Location: Tower
- Main Location: Fitzroy's Gorge
- Reward: Umbral Scouring x2
From the Umbral Flowerbed on the bridge, head through the archway and continue along the path. At the end, take the path that goes up, where you see the wooden items.
Destroy the path and warp to the Umbral Realm and Soulflay the structure to get across.
Head into the tower on the left side and make your way up. Carefully get to the top of the tower and there you will see a swarm of moths beside the flame beacon. Soulflay the Stigma and receive 2 Umbral Scourings.
Adyr's Stigma

- Sub-Location: Shrine of Adyr
- Main Location: Fitzroy's Gorge
- Reward: Umbral Scouring x2, Remembrance of Adyr, the Bereft Exile
This Stigma requires you to beat the game while achieving the Radiance ending. You will not be able to find this Stigma if you start NG+ so head there and acquire the rewards before starting NG+.
From the Vestige of Betrayed Eliard, head to the Shrine and you will be able to see the swarm of moths. Soulflay the Stigma to receive 2 Umbral Scourings and the Remembrance of Adyr, the Bereft Exile.
Lower Calrath
Stigma of Isaac Kneeling

- Main Location: Lower Calrath
- Rewards: Umbral Scouring x2, Wooden Dark Crusader Cross
NOTE: Soulflaying this Stigma leads to unlocking the Dark Crusader Class. This is the first of Isaac's Stigmas.
This stigma can be found right when players first enter Lower Calrath. Walk up the path and clear the enemies and Soulflay the Stigma to receive 2 Umbral Scourings and a Wooden Dark Crusader Cross.
Miner's Stigma
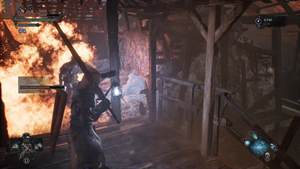
- Sub-Location: Lower Calrath Alehouse
- Main Location: Lower Calrath
- Rewards: Umbral Scouring x2
From the Vestige of Lydia the Numb Witch, head back down the stairs to the room with the hole in the brick wall. Jump down from the hole but be careful as there are little bombs that could deal damage, head to the path on the left and take the stairs up.
Walk across the platform and drop down into the burning house, go to the path towards the right and jump over the other roof. Head into the burning building to the left.
Once across to the burning building, break through the wooden barrels and go through the building, turn around, and cross another bridge to find the swarm of moths. Soulflay the Stigma and receive 2 Umbral Scourings.
Elianne's Stigma
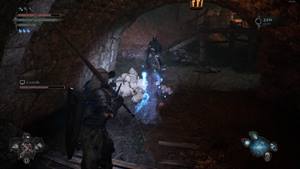
- Sub-Location: Lower Calrath Depot
- Main Location: Lower Calrath
- Rewards: Odd Stone, Umbral Scouring x2
From the Umbral Flowerbed by the stairs and head down the path, there will be a broken bridge. Warp into the Umbral Realm and there will be platforms that players can cross. Continue along the path and take the stairs up to the right.
There will be another broken bridge that players can warp to the Umbral Realm to cross the bridge, take the stairs up on the left, and continue onto the left stairs and down the ladder. Follow along the path until you see the swarm of moths underneath the bridge. Soulflay the Stigma to receive an Odd Stone and 2 Umbral Scourings.
Spurned Progeny's Stigma
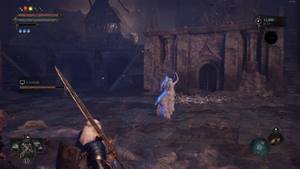
- Main Location: Lower Calrath
- Rewards: Umbral Scouring x2, Remembrance of a Spurned Progeny
From the Umbral Flowerbed in the street between the buildings on fire, head straight towards the end and go through a large archway. Follow the path down to a boss arena. Defeat the Spurned Progeny to find the Fragment, Soulflay the Stigma to receive 2 Umbral Scourings, and the Remembrance of a Spurned Progeny.
Stigma in the Graves
- Sub-Location: Lower Calrath Depot
- Main Location: Lower Calrath
- Rewards: x2 Umbral Scouring
NOTE: This Stigma is only available after defeating The Lightreaper boss.
From the Vestige of Sebastian, head down the stairs and on the path with bones. Use your Umbral Lamp to get to the other side and head down the path towards the archway. Go through the door on the right and take the stairs up, follow the path and take the ladder down. Head out and follow the path on the right until you pass 2 hounds. Go to the archway on the left, and continue on the right again. Go through the graveyard and continue onwards until you reach another open area. Warp into the Umbral and soulflay the stigma to receive 2 Umbral Scourings.
Sunless Skein
Fallen Victim's Stigma
- Sub-Location: Sunless Skein Mines
- Main Location: Sunless Skein
- Rewards: Umbral Scouring x2
From the left of the Vestige of Hooded Antuli, follow the tracks until you reach a barred archway. To the left there are stairs, go up the stairs to see a small room with another barred archway. Use the Umbral Lamp to go through the bars.
Continue along the path to find a bridge that gives way when you get to the middle, drop down take out the enemies, and continue along the tunnel. Stick to the cliffs but stay clear of the red spots on the wall as they will explode. Go through the doorway to find a fragment on the rails, Soulflay the Stigma to receive 2 Umbral Scourings.
Stigma of a Miner
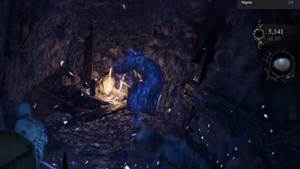
- Sub-Location: Sunless Skein Mines
- Main Location: Sunless Skein
- Reward: Umbral Scouring x2
From the Umbral Flowerbed in the tunnels, go through a tunnel and use your Umbral Lamp to walk through the barred archway and drop down.
Clear the area of the enemies and use your Umbral Lamp to Soulflay the marking on the wall to reveal a path behind it with a Fragment. Soulflay the Stigma to receive 2 Umbral Scourings.
Cistern
From the Vestige of Catrin, Follow the tracks out through the small shack.
Continue along the path to reach a room with several enemies with fire attacks, go around the room to find a ladder and climb up. Use the Umbral Lamp to reveal a path, walk across to the stacked cages and roll onto the other side to make it through to the doorway.
Head to the path on the left to get to a large open room. Follow the path down and use your Umbral Lamp to go through the bars on the doorway.
Go through the cave and look for the doorway with the ladder, head up, and defeat the enemy in the room. Go to the doorway where the enemy came out from to find an Adyr altar with a swarm of moths in front of it. Soulflay the Stigma to receive 2 Umbral Scourings.
Upper Calrath
From the Umbral Flowerbed from the room with the open corner, open the door and head down the stairs on the left to find the swarm of moths in the middle of the room, in front of the fireplace. Soulflay the Stigma to receive 2 Umbral Scourings.
You will have to get through Cristern to get through this part of Upper Calrath.
From the Vestige of the Forgotten Guardian, head out the doorway and down the field. Warp into the Umbral Realm to reveal a ladder on the first structure on the right.
Head up the structure and Soulflay the marked figure on a hill to open up the gates.
Head through the gates to find yourself in an arena. Take out all the enemies around this area and head across the field to the open archway. Head up the stairs to find a swarm of moths, Soulflay the Stigma and receive 2 Umbral Scourings.
NOTE: This Stigma will only be available after defeating The Lightreaper boss.
From the Vestige of the Forgotten Guardian, exit the doorway and head towards the right side of the field. when you reach the iron gates, use your Umbral Lamp to go through the gates. Continue down the large archway into the arena and warp into the Umbral, soulflay the stigma and receive 2 Umbral Scourings.
From the Umbral Flowerbed in the dark alley, warp into the Umbral Realm and a fragment will appear in the alley. Soulflay the Stigma to receive 2 Umbral Scourings.
The Lightreaper's Stigma

- Sub-Location: The Lightreaper Arena
- Main Location: Upper Calrath
- Reward: Umbral Scouring x2, Remembrance of the Lightreaper
From the previous Stigma, follow the path down behind Andreas of Ebb, and you will find yourself in a Boss fight with The Lightreaper. Defeat it to access the stigma, Soulflay the Stigma to receive 2 Umbral Scourings, and the Remembrance of the Lightreaper.
From the Umbral Flowerbed in the alley, head out and down the path on the left until you reach the large tree. On the right there are iron gates and a stigma. Soulflay it and receive 2 Umbral Scourings.
From the previous Stigma, head up the stairs and up the wooden planks. Head into the doorway and continue downwards and head out the building.
Head to the left of this area and continue along the path. There are several enemies so clear them out along the way. At the end of this path, Soulflay the structure to create a bridge.
Walk across the bridge and Soulflay this wall structure to clear it, continue the path and take the turn on the right and head down to see the fragment. Soulflay the Stigma to receive 2 Umbral Scourings.
Lords of the Fallen Fief of the Chill Curse ~ Revelation Depths Stigmas
Click to be redirected to the specific location
Fief of the Chill Curse
Click on the images attached to enlarge them.
NOTE: Soulflaying this Stigma leads to unlocking the Dark Crusader Class. This is the second of Isaac's Stigmas.
From the Vestige of Svornil, warp into the Umbral Realm and you will be able to see the Stigma by the iron gates. Soulflay it to receive 2 Umbral Scourings.
Stigma of a Fierce Combat
- Sub-Location: The Crow's Nest
- Main Location: Fief of the Chill Curse
- Rewards: Umbral Scouring x2
NOTE: This Stigma is only available after defeating The Lightreaper boss.
From the Vestige of Loash, head through the archway made of branches then head into the tower on the right. Take the ladder down and cross the bridge all the way and take the ladder down again. Go past the riverbed and into the open area, warp into the Umbral and soulflay the stigma and receive 2 Umbral Scourings.
From the Umbral Flowerbed in the field, head down and follow the snowy path.
Continue on the path until you reach an entrance, enter and go up the broken-down wall and go over to the other side of the locked gate.
Go down the path through the few archways, there will be a path on the right that leads to a narrow track to walk until you reach a large area with a statue in the middle.
From the Statue, go across to find a plank to walk on to get into the broken buildings. There will be a lot of strong enemies nearby.
Go through the houses and cross the river. Drop down to the house with the swarm of moths. Soulflay the Stigma and receive 2 Umbral Scourings.
Dying Man's Stigma

- Sub-Location: The Crow's Nest
- Main Location: Fief of the Chill Curse
- Reward: Umbral Scouring x2
NOTE: Soulflaying this Stigma leads to unlocking the Dark Crusader Class. This is the third of Isaac's Stigmas.
NOTE: This stigma can only be found after completing the Boss The Hollow Crow.
From the Vestige of Loash, head to the left through the archway made of branches, and go into the archway on the right and take the ladder down
Go to the end of the bridge to the other tower, and take the ladder down. Exit the tower through the large hole leading to the river.
Warp into the Umbral Realm and go to the river and follow the path on the right until you see the fragment. Soulflay the Stigma to receive 2 Umbral Scourings.
From the Vestige of Svornil, take the ladder up on the right all the way up to get to the scaffolding. Reach the snowy path and continue down the path until you pass all the breakable items. Warp into the Umbral and soulflay the stigma
Stigma of The Hollow Crow
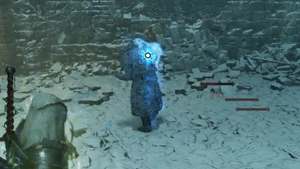
- Main Location: Fief of the Chill Curse
- Rewards: Umbral Scouring x2, Remembrance of the Hollow Crow
From the Vestige of Loash, head through the archway of branches to reach an open area. There you will have to fight The Hollow Crow boss, defeat it to find the stigma. Warp into the Umbral and soulflay the stigma to receive 2 Umbral Scourings and the Remembrance of The Hollow Crow.
Revelation Depths
Unbroken Promise Stigma

- Main Location: Revelation Depths
- Reward: Umbral Scouring x2, Remembrance of the Unbroken Promise
You will have to get through Cristern to get through this part of Upper Calrath.
From the Vestige of Lost Berescu, follow the tracks to a large area filled with flowers. There should be a set of stairs going down and 2 statues holding up a bowl of flowers, take the stairs down to reach the area to fight the Unbroken Promise Boss. Defeat this boss and head up to the pedestal to find the fragment there. Soulflay the Stigma and receive 2 Umbral Scourings and the Remembrance of the Unbroken Promise.
Lords of the Fallen Belled Rise ~ Tower of Penance Stigmas
Click to be redirected to the specific location
Pilgrim's Perch - Belled Rise
From the Vestige of Blind Agatha, head through the path on the right and warp into the Umbral. Drop down to the lakebed and take the stairs up on the right and continue onwards on the right side until you reach outside. On the right, take the ladder down and head over to the right side where there are hanging cages. In one of them there is a stigma, soulflay it and receive 2 Umbral Scourings.
Path of Devotion
Click on the images attached to enlarge them.
Issac's Stigma

- Sub-Location: Path of Devotion Memorial
- Main Location: Path of Devotion
- Reward: Umbral Scouring x2
NOTE: Soulflaying this Stigma leads to unlocking the Dark Crusader Class. This is the final Stigma of Isaac.
From the Vestige of Dieter, follow along the path until you reach a hill. Clear out the enemies then you will find the swarm of moths by a tree at the cliff. Soulflay the Stigma to reveal Exacter Dunmire part of the fragment, watch to receive 2 Umbral Scourings.
NOTE: Participating in this Boss fight will lead to unlocking the Dark Crusader Class.
From the Vestige of Dieter, head down the path past the large hill onto the second large hill. Clear out the enemies in the area and Warp into the Umbral Realm, on the left side of the large hill you will see a platform and a target to soulflay. Soulflay the target to extend the bone bridge. Get across to find another stigma. Soulflaying this stigma will instantly give you 2 Umbral Scourings, there won't be a dialogue to watch. Instead, a Boss fight against the Paladin's Burden will begin.
Manse of the Hallowed Brothers
From the Vestige of Brother Jeremiah, head out and across into the kitchen where you will find a set of stairs. Take the stairs up on the ledge, warp into the Umbral Realm, and soulflay the platform to drop it to hop onto. There will be wooden objects you can break, break them, and pass through a doorway to find the Fragment. Soulflay the Stigma to receive 2 Umbral Scourings.
From the last Stigma, head over to the right and Soulflay the structure to get across to the other side. Head up the ladder once across.
Walk across the roof to the platform on the other side and go through the entrance on the right.
Drop down from the platform and go through the double archway, follow the path and take the stairs up on the right, then the stairs on the right again. Head straight up to find an enemy and wooden structures. Defeat the enemy and break the structures to get through.
Take another set of stairs from the right to find a dead end. Use your Umbral Lamp to reveal a secret room. Head in and a swarm of moths can be found in front of the fireplace of the room. Soulflay the Stigma to receive 2 Umbral Scourings.
From the Vestige of Brother Jeremiah, head outside and go up the path.
Head up the stairs to reach a walkway full of enemies. Clear the enemies while making your way to the end.
Once you're by the fountain, break the wooden structures by a doorway and continue on. Right before the next doorway, there is a broken part of the rails, use your Umbral Lamp to walk onto the grassy path.
Head down the grassy path until you read large double doors and a bench, there's a swarm of moths on the beach. Soulflay the Stigma to reveal Byron to be a part of this fragment, and receive 2 Umbral Scourings.
From the Umbral Flowerbed in the narrow corridor, head through the doorway that leads to outside and take the stairs on the right.
Head down the stairs, and follow the path on the left up to the door. Open it to reach an altar, go down the stairs and go to the door at the bottom of the steps. Open the door, step out and head to the broken down gazebo on the left to find a swarm of moths. Soulflay the Stigma to reveal Pieta's Fragments as well, and receive 2 Umbral Scourings.
Rector's Stigma
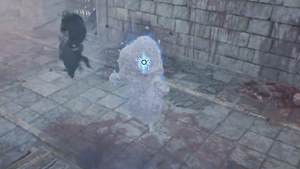
- Sub-Location: Hallowed Brothers Leprosarium
- Main Location: Manse of the Hallowed Brothers
- Reward: Umbral Scouring x2
From the Umbral Flowerbed in the narrow corridor, head out through the doorway that leads out to the bridge. Head across and break through the wooden structures in your way and go through the next doorway.
From the doorway, you will need to head downstairs, you can either just drop down the ledge or take the stairs down. Take the ladder down, clear the enemies and head to the right side of the room.
There will be 2 doorways, one on the left and one on the right. Take the right doorway and head to the end of the hall to reach the swarm of moths. Soulflay the Stigma to receive 2 Umbral Scourings.
Tower of Penance
From the Umbral Flowerbed on the bridge, head to the path on the left and take the lift up.
Step off the lift and enter the tower. There are several enemies and structures you will need to Soulflay to carefully make your way down.
Take the first ladder down and continue downwards. There will be a second ladder, don't take it down. Instead, hop onto the platform.
Afterwards, hop onto the wooden platform on the side and there will be a prison cell that's boarded up with wood. Just break through it to find the fragment. Soulflay the Stigma to receive 2 Umbral Scourings
Stigma of the Tancred, Master of Castigation
- Sub-Location: Tancred, Master of Castigations' Boss Arena
- Main Location: Tower of Penance
- Rewards: Umbral Scouring x2, Remembrance of Tancred, Master of Castigations and Reinhold the Immured
From the Umbral Flowerbed outside the Tower of Penance, head in and go all the way down until you reach the room with the candle-lit shrine. While facing the shrine, head down the path on the left and go through a door to find yourself at the Tancred, Master of Castigations' Boss arena. Defeat the Boss and soulflay its stigma to receive 2 Umbral Scourings and the Remembrance of Tancred, Master of Castigations and Reinhold the Immured
Lords of the Fallen Abbey of the Hallowed Sisters ~ The Empyrean Stigmas
Click to be redirected to the specific location
Abbey of the Hallowed Sisters
Click on the images attached to enlarge them.
From the Vestige of Rosamund, head into the doorway across from the Vestige and head up the stairs.
Warp in to the Umbral Realm and Soulflay the marked body to open up the path. Continue along the path but be careful with the enemies and the red spots on the wall that explodes when you get too close.
Once you make it out, go straight and go up the stairs. There will be some stronger enemies so be wary when heading up the path of stairs.
After getting through the stairs head through the narrow corridor on the left to find yourself in an open area with a tree in the middle. The swarm of moths can be seen in front of the tree. Soulflay the Stigma to receive 2 Umbral Scourings.
Stigma of the Hallowed Sentinels
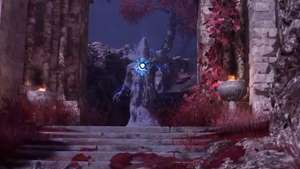
- Main Location: Abbey of the Hallowed Sisters
- Reward: Umbral Scouring x2
From the Umbral Flowerbed next to Stomund, Captain of the Fidelis, head up the stairs and go through the tunnel under the bridge.
After the bridge, take the stairs up on the right to find the swarm of moths. Warp to the Umbral Realm and Soulflay the Stigma to receive 2 Umbral Scourings.
From the Arena where you fought Rapturous Huntress of the Dawn, head to the staircase on the left and go up. Continue along the walkway until you reach the other side.
Take the stairs up and continue along the path until you reach an outside sitting area. Head out and head right.
Take the stairs down and take the path on the right and follow along the path to find the fragment. Soulflay the Stigma and receive 2 Umbral Scourings.
The Empyrean
From the Vestige of Iorelo the Cursed Knight, head out the double doors and up the stairs near the large gates.
Before reaching the large gates, head towards the left where the broken tower is, head up the stairs and warp into the Umbral Realm to reveal the rest of the broken tower. Cross it to enter what looks like a library and Soulflay the Stigma to receive 2 Umbral Scourings.
Judge Cleric's Stigma
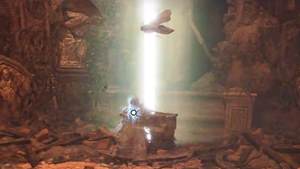
- Sub-Location: Judge Cleric, the Radiant Sentinel Arena
- Main Location: The Empyrean
- Reward: Umbral Scouring x2, Remembrance of Judge Cleric, the Radiant Sentinel
From the previous Stigma, head back to the heavy doors. You are required to have the Empyrean Church Key to be able to unlock the gates. Head to the very end and jump into the Boss arena. You will need to defeat the boss and cleanse the beacon to be able to see the swarm of moths. Soulflay the Stigma and receive 2 Umbral Scourings and the Remembrance of Judge Cleric, the Radiant Sentinel.
Lords of the Fallen Bramis Castle Stigmas
Click to be redirected to the specific location
Bramis Castle
Click on the images attached to enlarge them.
From the Umbral Flowerbed by the lava river, up the path and turn left to continue the path ahead.
On the left side, there is a structure covered with a wall of flames, warp into the Umbral Realm to go through it, and soulflay the structure to create a bridge.
Cross the bridge and go through the little opening to find Drustans fragment, Soulflay the Stigma to receive 2 Umbral Scourings.
From the previous Stigma, head out onto the right to Soulflay the marking to turn the tower.
Head back into the tower and follow the path. At the end of the path, there is a structure to Soulflay to create a bridge and to open up an entrance.
Head back to the broken structure with the wall of fire and go through the now opened entrance. Go through it and walk across the tower and down to the right at the very end.
Drop down on the left side and follow the wooden scaffolding on the right and head into the other tower that has a circular lift.
Take the lift down and exit, follow the path around and make your way through a large staircase on the left.
Follow the stairs up and before the top, there will be a swarm of moths. Soulflay the Stigma and receive 2 Umbral Scourings.
From the Vestige of the Bloody Pilgrim, head to the stairs in front of it and take the left path, and make another left turn.
Make another sharp left and take the stairs up, continue the path and go through the doorway on the left and take the spiral stairs up to the first opening on the left.
Follow the path, and drop down. Continue the path up and break through the wooden planks. The room is filled with enemies and a large enemy, defeat them out for easier exploration. Open the door on the right side of the room and the fragment can be seen behind the door. Soulflay the Stigma to receive 2 Umbral Scourings.
From the Umbral Flowerbed from the double spiral steps, you can go down either side and then make your way to the head of the table to find the fragment of King Bramis. Soulflay the Stigma to receive 2 Umbral Scourings.
Stigma of the Sundered Monarch
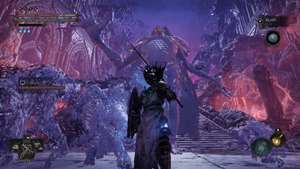
- Sub-Location: Sundered Monarch Arena
- Main Location: Bramis Castle
- Reward: Umbral Scouring x2, Remembrance of the Sundered Monarch
From the Umbral Flowerbed by the cliff, head up the stairs to reach a large area, take the stairs on the right that lead to a Boss arena. Defeat the Boss the Sundered Monarch to receive 2 Umbral Scourings and the Remembrance of the Sundered Monarch.
Drustan's Final Stigma
- Sub-Location: Sundered Monarch Arena
- Main Location: Bramis Castle
- Reward: Umbral Scouring x2
From the previous Stigma, head up the stairs all the way to the top to find Drustan's final Stigma. Soulflay the Stigma to receive 2 Umbral Scourings.
Mother's Lull
Elianne's Stigma
- Main Location: Mother's Lull
- Reward: x2 Umbral Scouring, x1 Remembrance of Elianne the Starved
Players are required to reach the Umbral Ending in order to fight Elianne the Starved. Please visit our Endings Page to learn more about the other endings.
Elianne the Starved is located in the Mother's Lull as part of the Umbral Ending. There are several steps players will need to complete to obtain this ending and face Elianne. This comes after obtaining Harkyn's Umbral Parasite and placing it in an open slot in Skyrest Bridge.
Players can then speak to Molhu to learn about another target which will lead you to speak to Pieta. Interact with her and choose to soulflay her to reveal her parasite. This will take you into a Boss fight against Elianne the Starved. Players can then acquire Elianne's Umbral Parasite to proceed with the Umbral Ending.
After defeating Elianne, soulflay the stigma and receive 2 Umbral Scourings and the Remembrance of Elianne the Starved.
Why am I sometimes unable to see all the figures in the stigma once activated? Sometimes I can see them all when I co-op in others' worlds...

 Anonymous
Its possible to get 200-300 umbral scourings per playthrough so that means there are 100-150 stigma's that doesn't seem right to me

 Anonymous
Io ho notato questi stigmi rossi e sono correlati in un punto. Ogni stigma rosso che trovi poi lo ritrovi dove hai ucciso il boss a cavallo mettendo il mondo umbral li trovi dentro un recinto nella valle

 Anonymous
The one location is not Fief of the chilled curse, its tower of penance

 Anonymous
I’ve noticed some weird red stigmas in the world. They appear as a thorny ball, possibly a skull, with a red aura.
When Soulflayed there’s just brief screaming and then you get 2 umbral scourings.
There’s one in Skyrest Bridge through the iron gates at the bottom of the winding stairs where Byron and Winterberry are.
Encountered a second one under scaffolding on the way to the Manse.
Don’t know if it’s related, but I’m on my 2nd run and got the Adyr ending on the first.
Anyone know what’s up with these?
 Anonymous
it would be nice to complete this list please it's the only achievement I'm missing ><

 Anonymous
There are 3 more stigmas of lightreaper. After I beat him doing the paladins questline (summoning isaac for the fight) I discovered that in every lightreaper arena, where you can have an optional encounter with him a new stigma appeared.

 Anonymous
Can you complete all of them in one playthrough besides Elliane if you go fo radiance? And if you start NG+0 or +1 do you have to do them again or only the ones that are left in Umbral ending?

 Anonymous
 Anonymous
The "Rector" stigma in Hallowed manse also doesn't exist ? At least the starting point is the wrong one because the bridge right ouside the flowerbed leads to the chest guarded by a boss. There's no breakable on it and it's a sealed issue.

 Anonymous
Heads up, the "miner" stigma in "Revelation Depths" is actually in Sunless Skein (there's 2 stigmas there).
The "Prisoner" stigma written under Fief of the Chill curse is actually in Tower of Penance.
 Anonymous
Complete this list twice, also all endings and all lightreaper staff
and nothing
Any ideas?
 Anonymous
There's a stigma on the main path after the Hushed Saint boss room leading to the Vestige of the Pale Butcher. It's a little girl talking to the poison frog enemy like it's a dog and she dies of poison. Does that one not count?

 Anonymous
Stigma of the Robbery and Stigma of the Wealthy are the same...

 Anonymous
The Stigma of a Battle in Skyrest Bridge is not there for me. I already beat the whole game with the radiance ending, what gives? Iron Wayfarer’s stigma isn’t there.

 Anonymous
Miner's stigma in the revelation depths looks like a mistake, it is not mentioned in the walkthrough. And there is no barred gate it seems like.

 Anonymous
Do stigmas for bosses disappear if you forgot to grab it after the fight, just realizing you have to do the stigma to gain the boss remembrance for boss weapons. made it all the way past the Hushed Saint before realizing this was a thing.


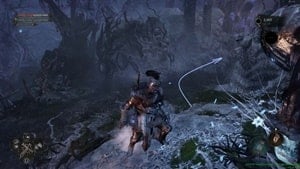
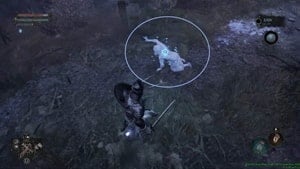
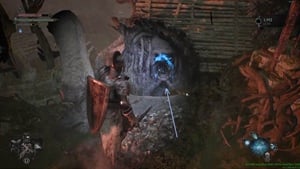
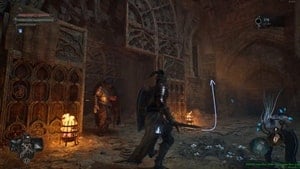
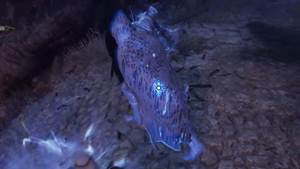
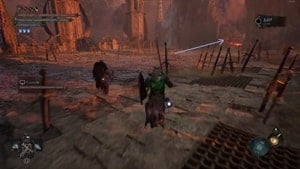
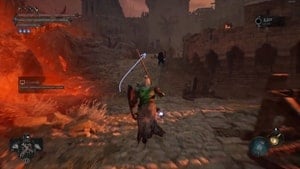
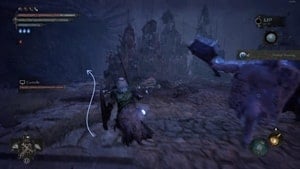
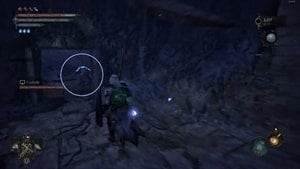

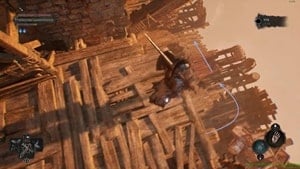
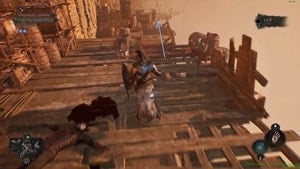
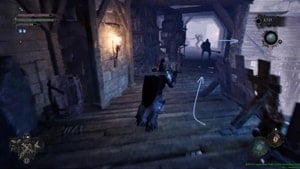
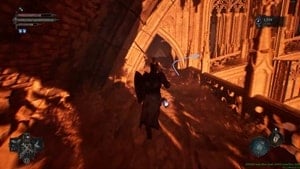
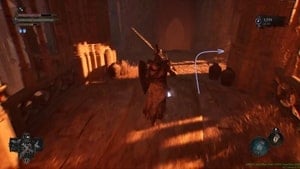
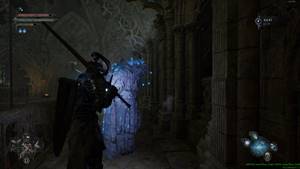
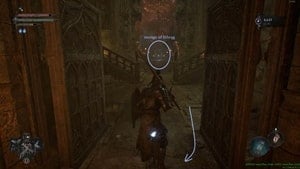
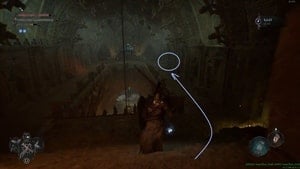
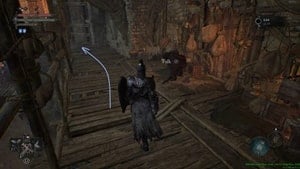
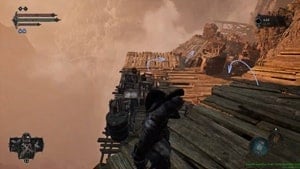
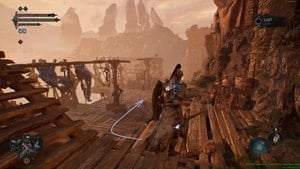
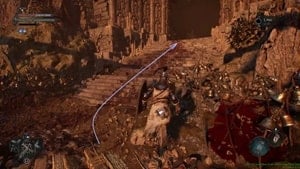
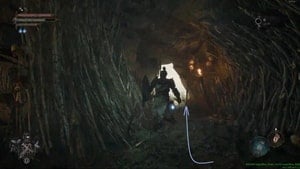
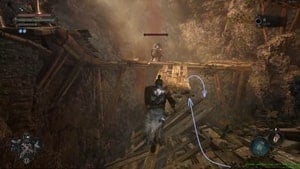
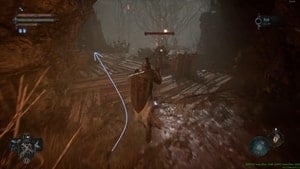
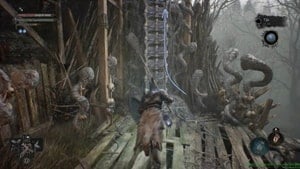
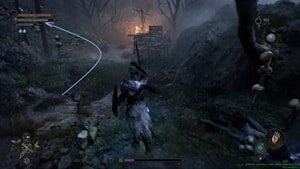
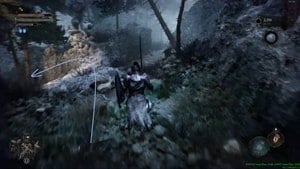

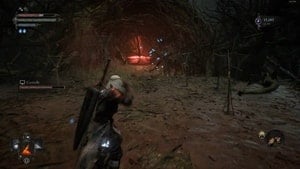


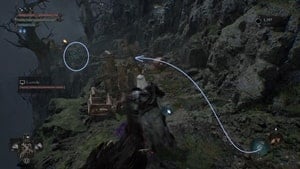
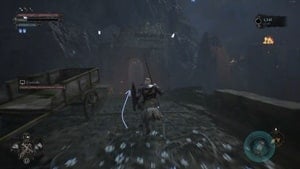

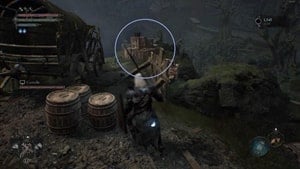
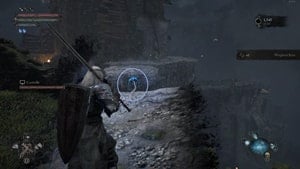
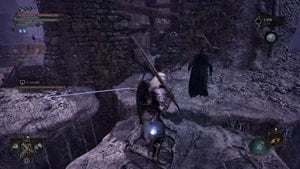
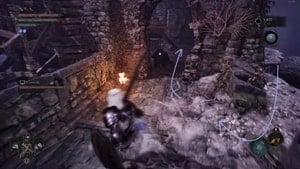
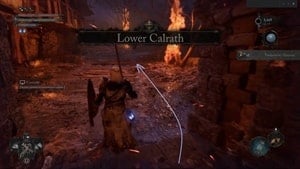

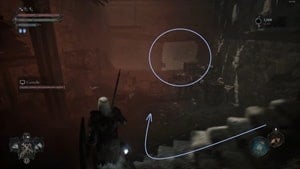
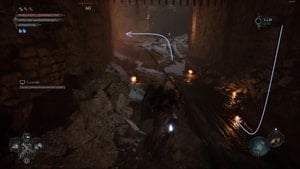
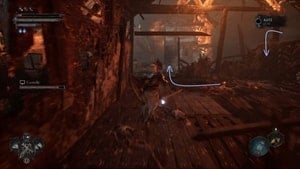
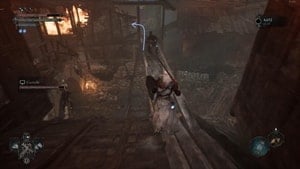
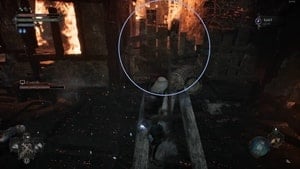

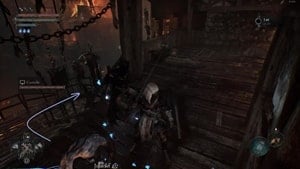
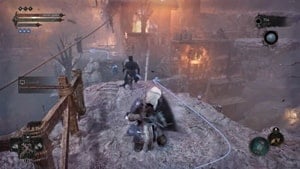
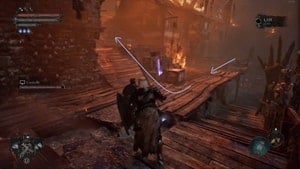
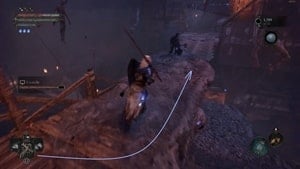
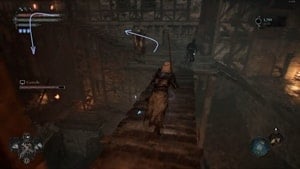
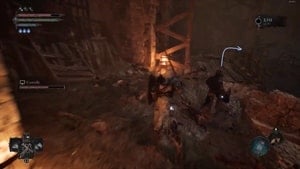

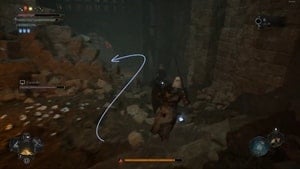
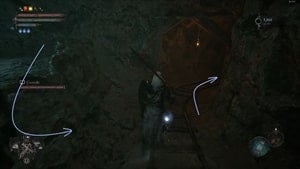
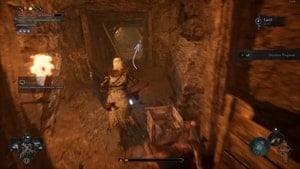
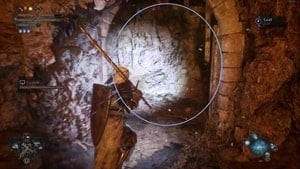
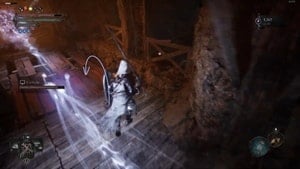
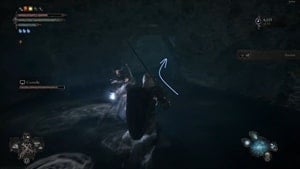
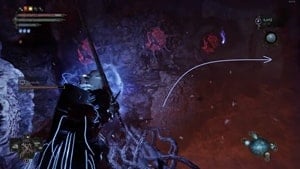

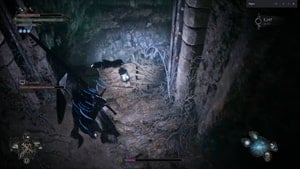
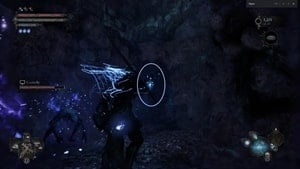
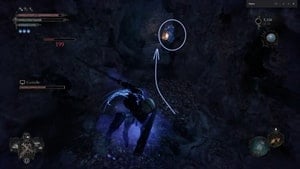
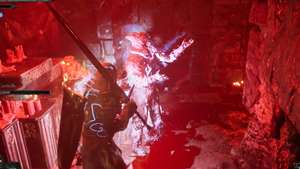
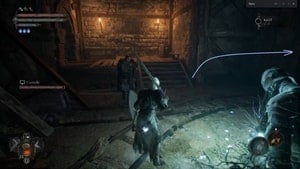
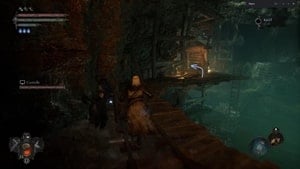
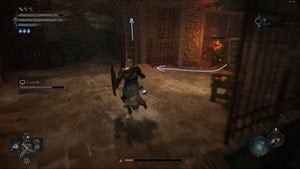
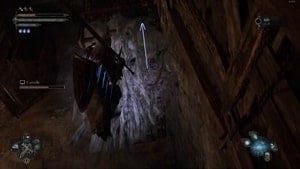
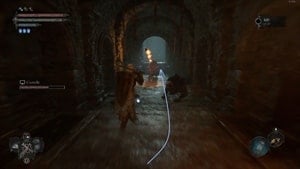
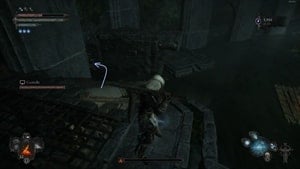
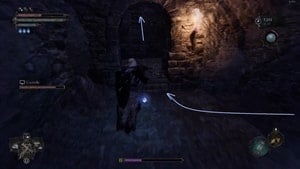
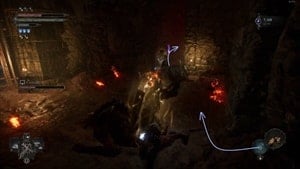

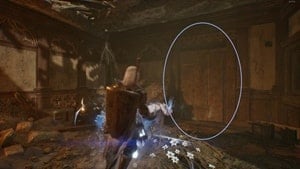
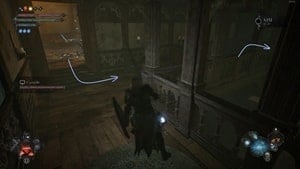
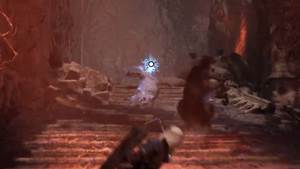
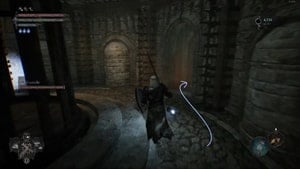
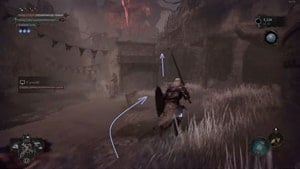
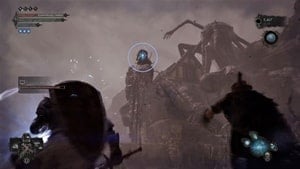
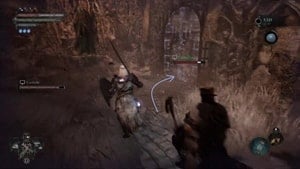

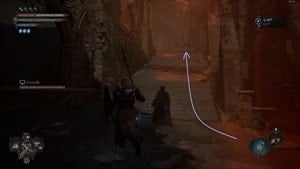

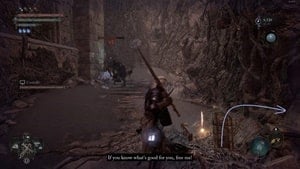
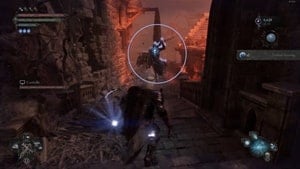
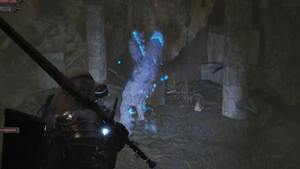
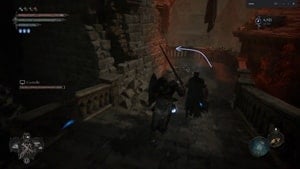
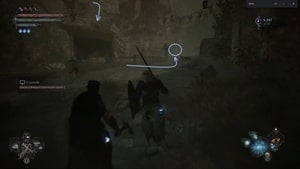
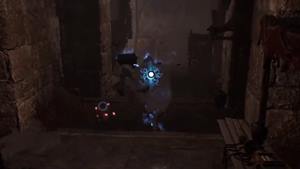
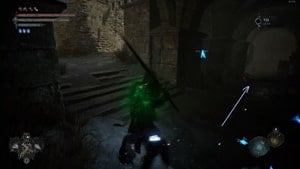
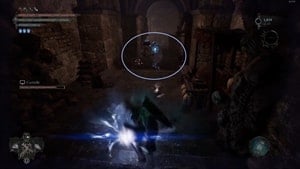
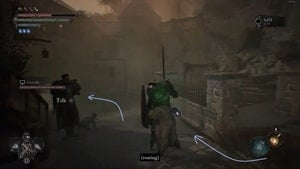
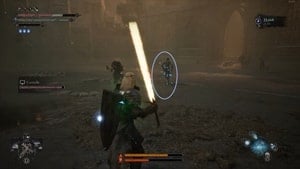
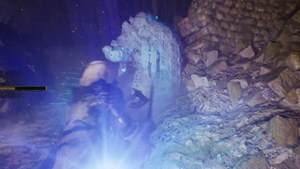
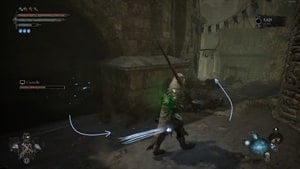
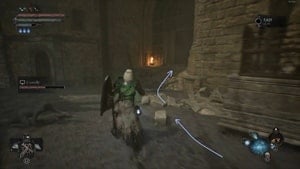
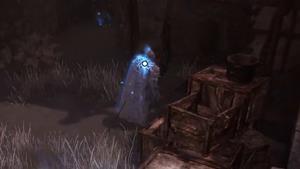
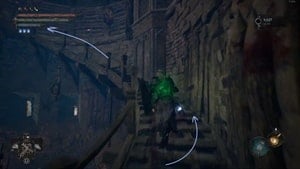
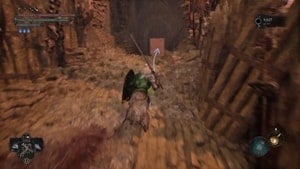
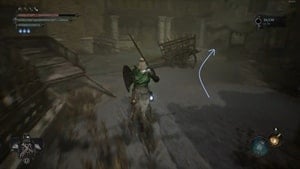

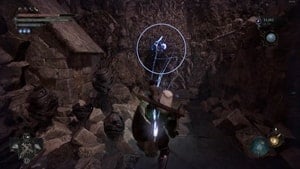
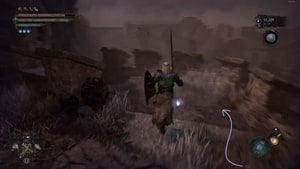
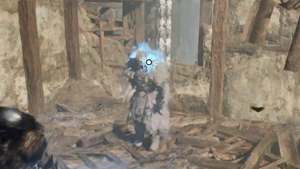
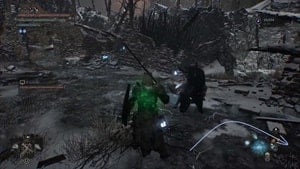
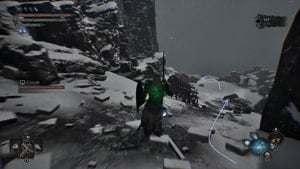
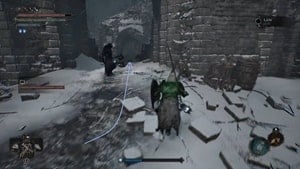
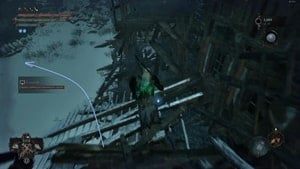
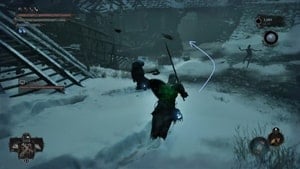
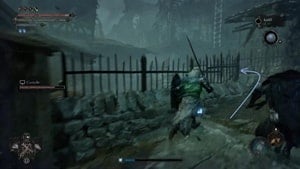
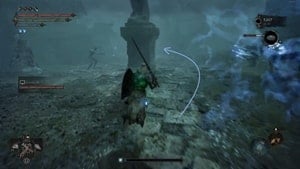
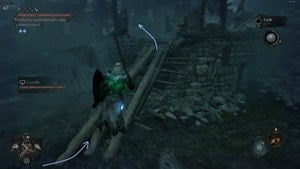
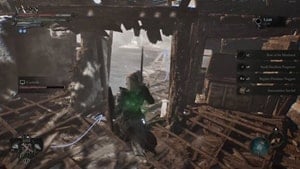
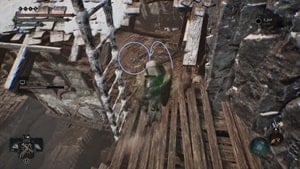
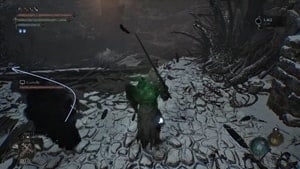
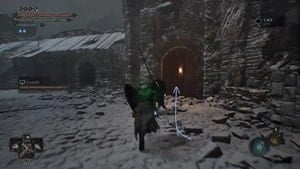
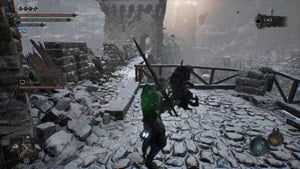
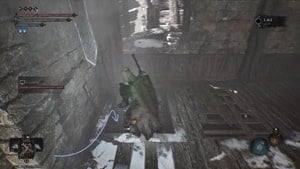
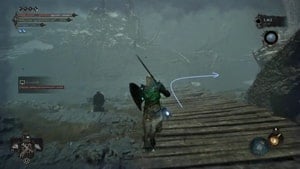
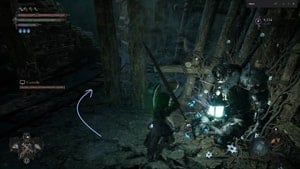
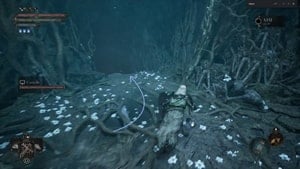

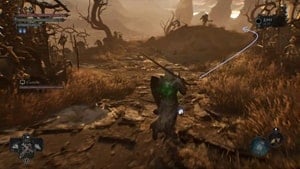

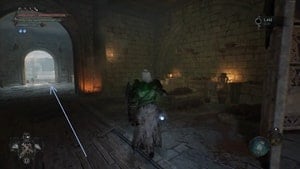
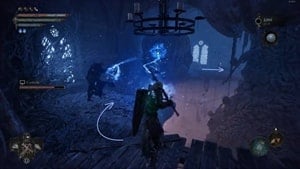
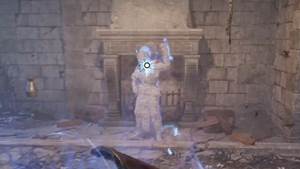
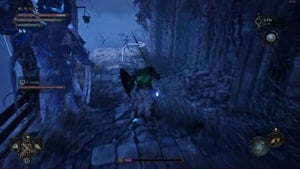
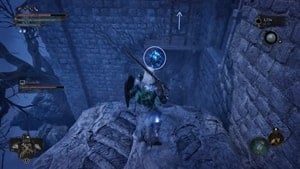
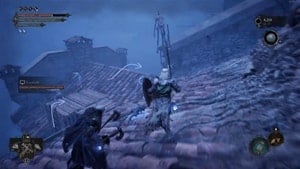
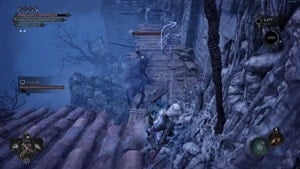
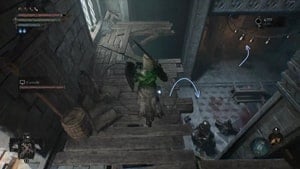
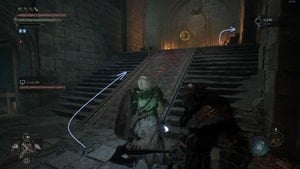
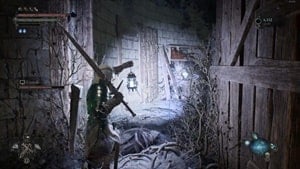
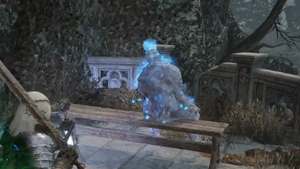
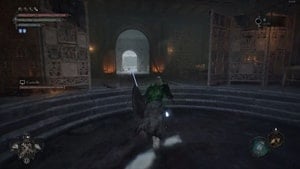
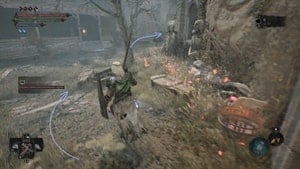
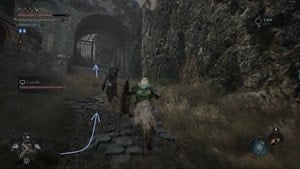
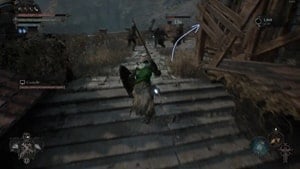
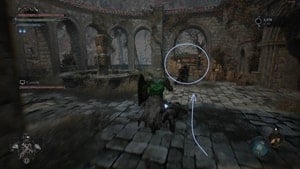
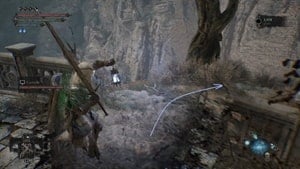
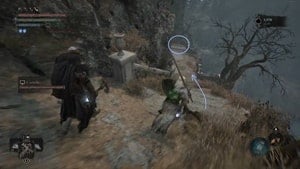

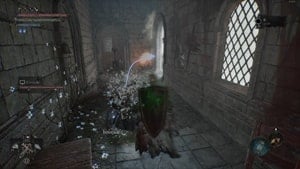
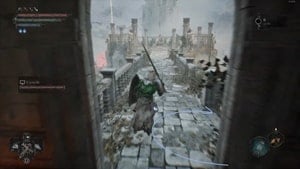
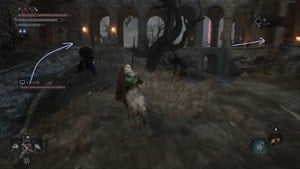
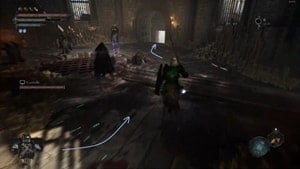
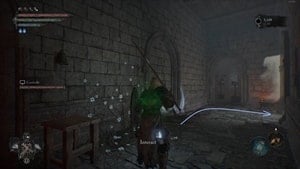
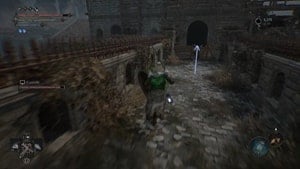
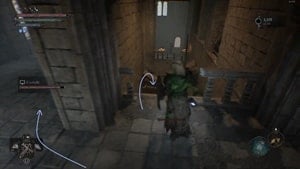
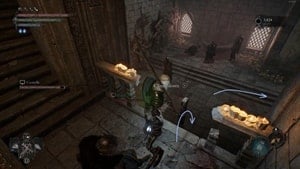
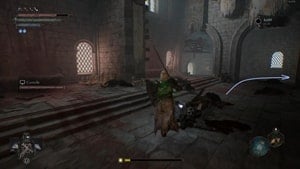
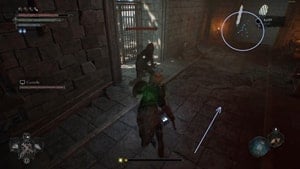
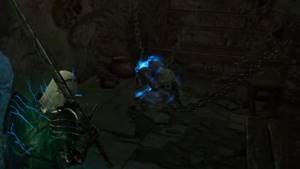
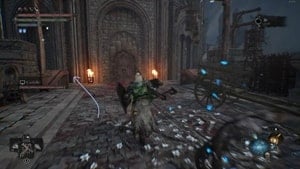
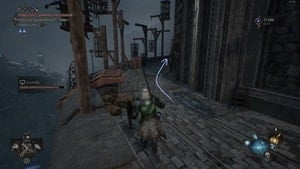
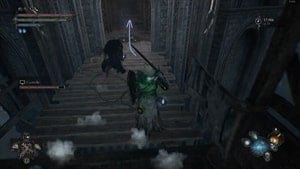
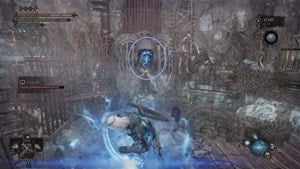
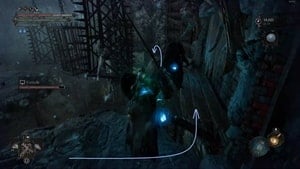
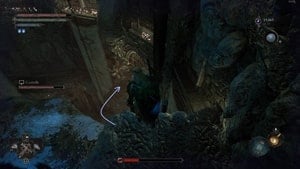
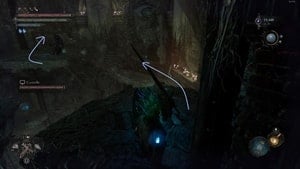

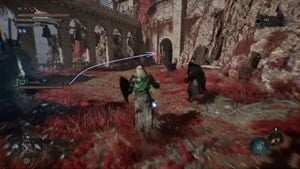
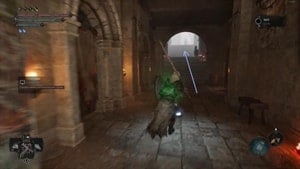
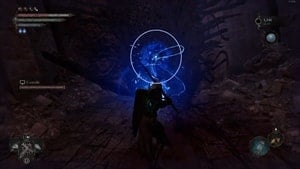
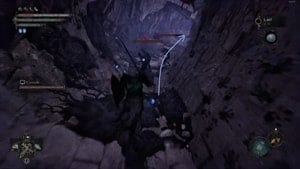
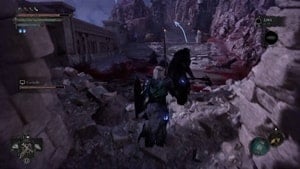
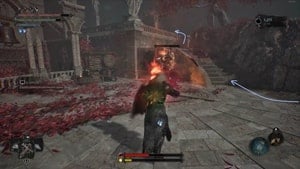
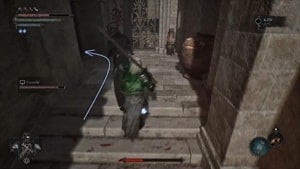
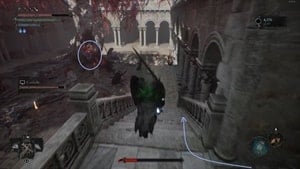
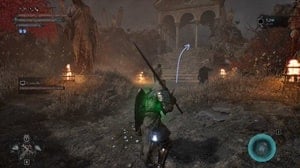
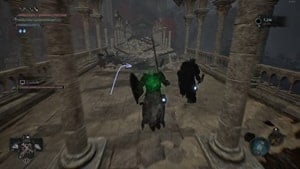
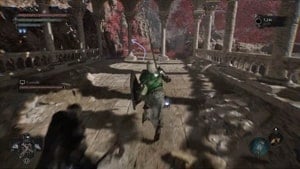
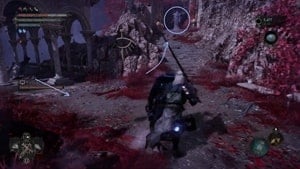

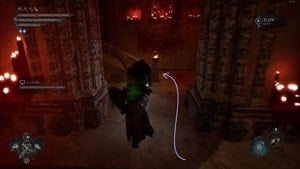
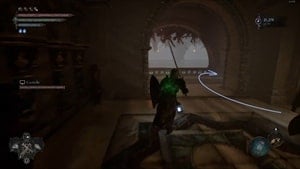
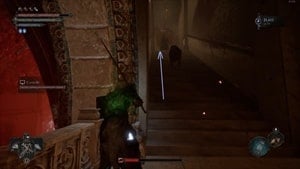
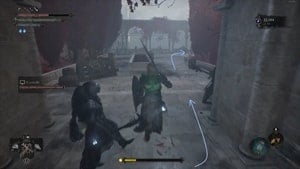
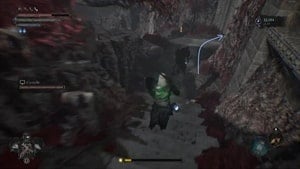
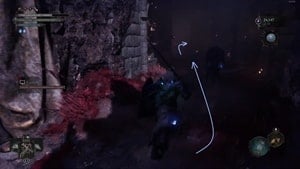
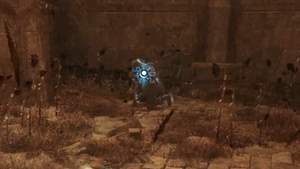
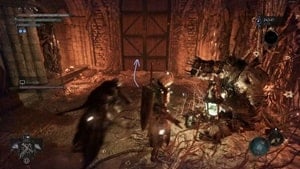
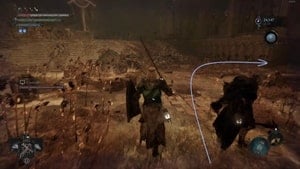
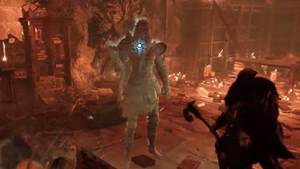
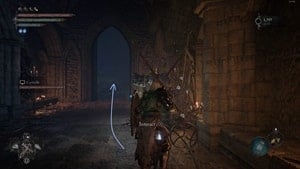
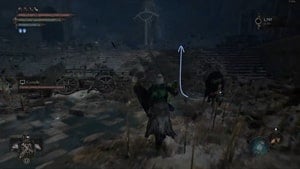
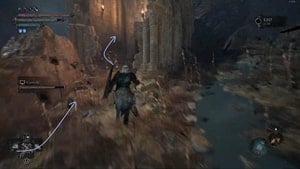
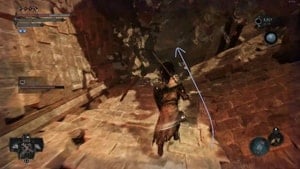
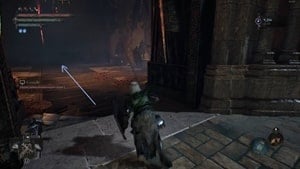
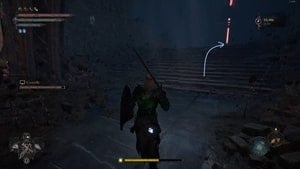
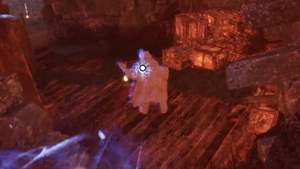
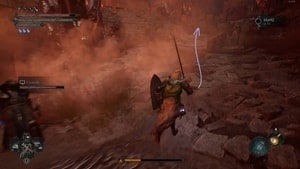

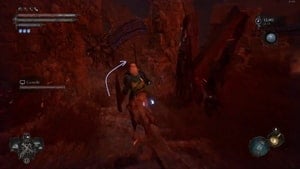
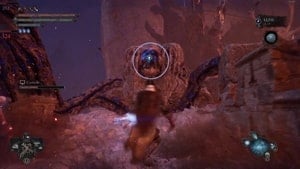
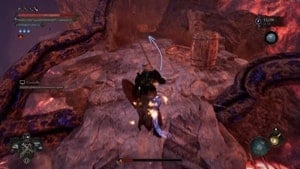

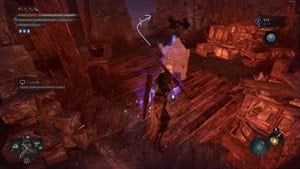
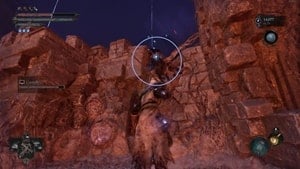
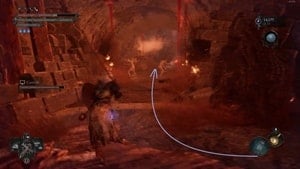
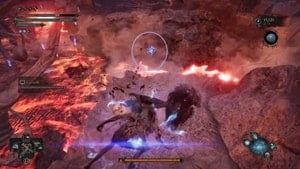
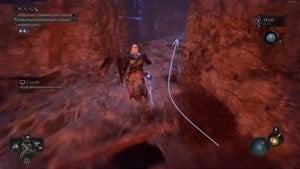
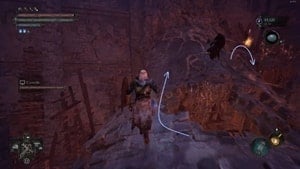
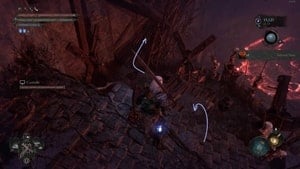
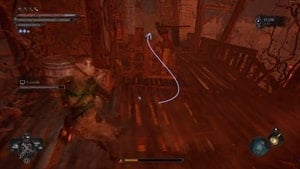
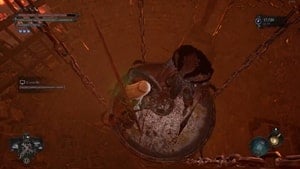
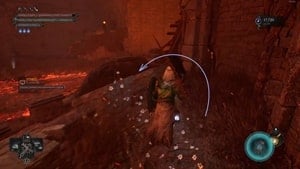
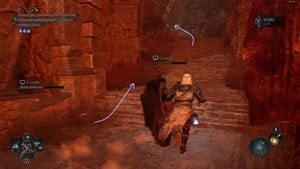
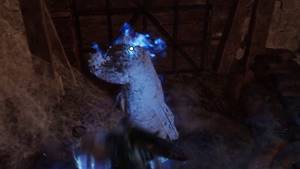
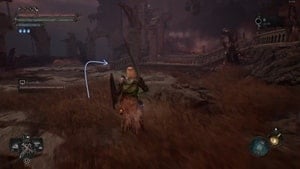
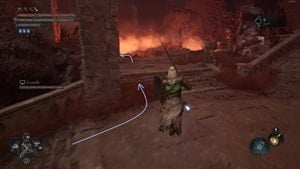
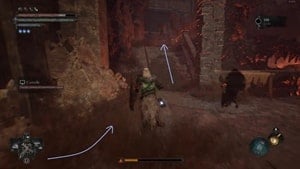
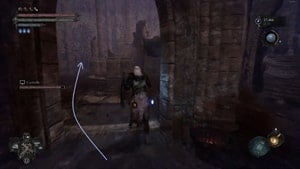
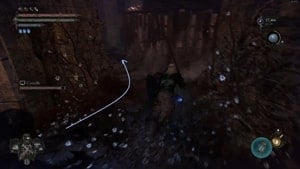
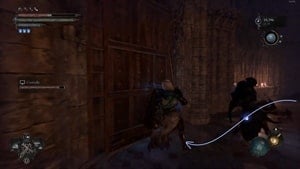
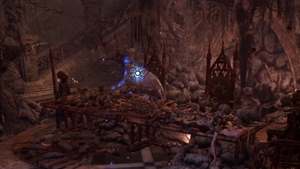
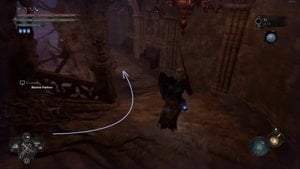
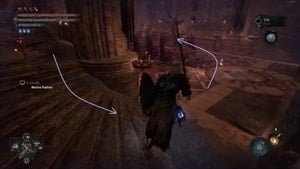
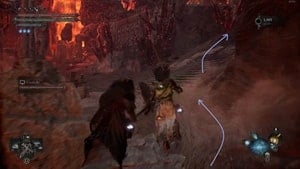
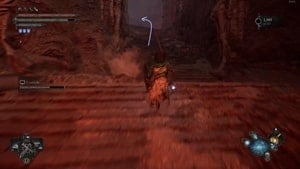
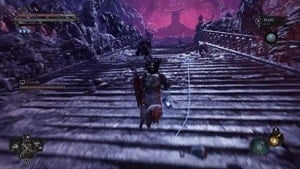
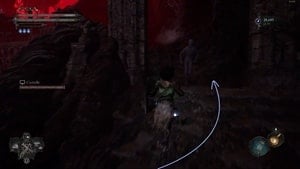
Missing the stigma of Byron and Catrin being tortured in the Tower of Penance, just before the fight with The Tancred.
5
+10
-1