Cistern is one of the Locations in Lords of the Fallen (LotF). Cistern is a sublocation of Sunless Skein where players will traverse a series of interconnected tunnels and cells that serve as a dungeon. As usual, locked gates and ladder shortcuts on the other hand will help the Lampbearer traverse this location effectively. In Lords of the Fallen (LOTF), players will get to explore a vast, interconnected world where they will journey across the worlds of the living and the dead. This page covers a full walkthrough and helpful guides for the Cistern location in Lords of the Fallen.
- Please visit the Walkthrough page for Lords of the Fallen (LotF) for a detailed guide on the main story.
- You can also check our Game Progress Route page for Lords of the Fallen (LotF) for a summarized progression path.
- Visit the Cistern Map for a visual aid in finding all Items, Shortcuts, and relevant markers.
General Information
- Previous: Sunless Skein
- Next: Upper Calrath B
- Bosses: Skinstealer
- Bringer of Silence
- Bringer of Nullity
- No. of Vestiges: None
Cistern Map
NPCs in the Area
- None
Bosses
Enemies
Items
Weapons
- Adyr-Worshipper's Saw
- Left-hand Bringer of Stillness Sword
- Marco's Axe
- Miner's Desperation
- Nohuta Effigy
- Nohuta Polearm
- Old Mournstead Pike
- Shovel-Head
- Skinstealer Cleaver
Shields
- None
Armor
Accessories
Spells
- None
Runes
- None
Items
- Animated Vigor Skull
- Ammunition Satchel x3
- Enervated Vigor Skull
- Heavenly Vial
- Manastone Cluster x3
- Pickaxe
- Poison Cure x2
- Ignite Salts x3
- Replete Vigor Skull
- Vestige Seed x2
- Wither Salts x2
Upgrade Materials
Key Items & Others
Enemy Drops
Obtained the Nohuta Effigy
Cistern is a subclass area of the Sunless Skein. Right after players acquire the Sunless Skein Key, the succeeding areas are now categorized under Cistern. We will be breaking down the progression into a series of objectives for you to easily follow. It is worth noting that most of the areas here are flooded thus, if you find yourself trapped, access Umbral so you can traverse the flooded areas, just like what we did in the previous areas.
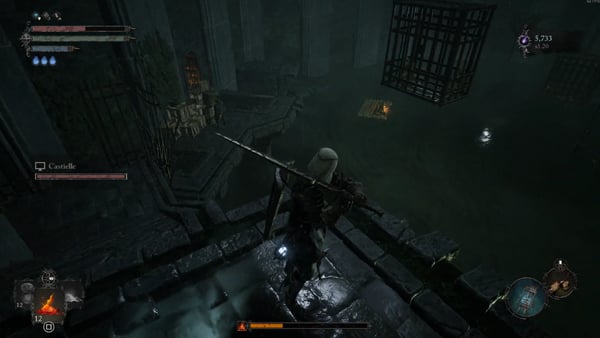
Starting from the unlocked iron gate shortcut or the area where players acquired the Sunless Skein Key, there will be a Trapper and Rhogar Hound waiting in a long hallway. Clear them out and head to the nearest exit and you will find yourself in an area that looks like a tower with a massive flooded lower area. You can traverse this level by accessing the spiraling stone staircases. Instead of reaching the upper parts, from your location, turn to your left and follow the staircase that leads you to the lower areas. At the end of the staircase, there is an opening that you can get through. After heading through the hole, you will eventually reach a long hallway with a lot of cells that you can access. At the end of the hallway, the path will split into two. Turn left and you will notice the path will split again. Continue following the hallway eventually, you reach a dead end with a Umbral Belly. Soulflay it and receive an x1 Nohuta Effigy. Near your location, pick up another loot and acquire a x2 Poison Cure.
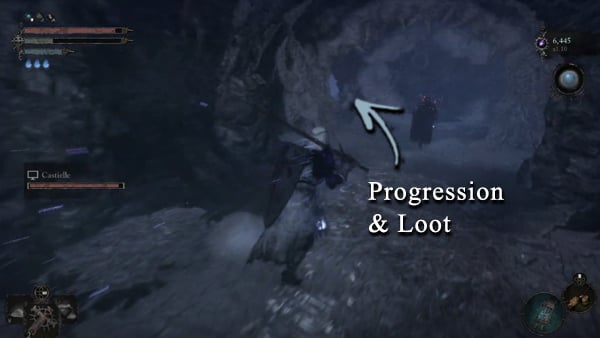
Witnessing the Altar Stigma
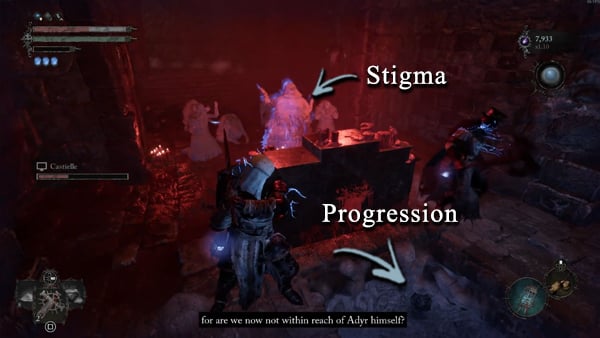
From your current location, head back to where the path splits. At the end of the long hallway, there's a wooden ladder that you can climb through. Access it and you will find yourself in a room with an Emergence Effigy and a locked gate that requires a Drainage Control Key for it to be unlocked. If you are in Umbral touch the Effigy to return to Axiom. Don't mind the door for now and head to the area by accessing the nearest pathway. A Proselyte and a Rhogar Hound will be waiting for you here so deal with them effectively. Pass the hallway, you will notice a glowing altar. Head near the altar and a Raw Mangler will appear. After dealing with this enemy, get the loot placed on the altar and receive an x1 Adyr-Worshipper's Saw. Use your lamp to determine that there is a Stigma located in here and Soulflay it to receive an x2 Umbral Scouring.
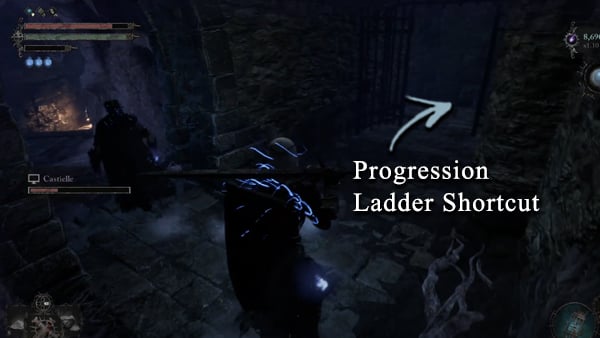
Unlocking the Ladder and Iron Gate Shortcut
Head back to the long hallway where the path splits for the first time. Head there and we will continue our progress in that area. After entering the hallway, the path will split into two again. Head the path to the right and you will eventually find yourself on a series of stone staircases. Along the way pick up an x3 Ignite Salts and in the room, you will that the ladder shortcut is located. Pull down the ladder and deal with the Raw Mangler in this area pick up the loot situated on an Umbral Flowerbed and receive an x1 Unblinking Root. You can activate a Vestige Seedling here if you wish to do so. Notice another path adjacent to the wooden ladder. Take the said path and pick up the following loot lying on the ground pick an x1 Ammunition Satchel and an x2 Manastone Cluster. Near your position, there is a locked iron gate that you can unlock. You will notice that this is the area where you acquired the Sunless Skein Key.
Defeat the Bringer of Silence, Nullity and Stillness
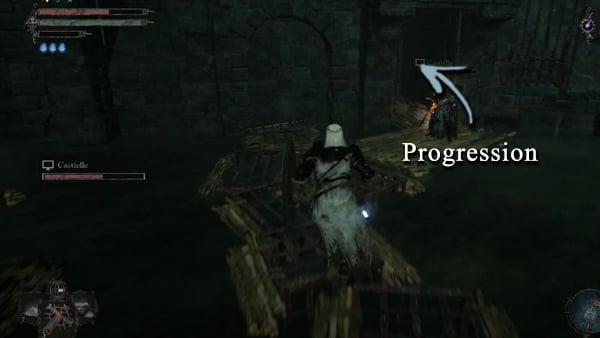
Head back to the ladder shortcut that you just activated. Refrain from accessing the ladder and instead, head to the stone staircases that you've been through before you unlocked the ladder shortcut. Remember where the path splits before you access the series of stone staircases? Make sure you are in Umbral or else you won't be able to traverse this area since it is flooded. We will explore the other hallway available for us. Follow the straight long hallway you will find yourself back to the tower-like area with a wide space. In Umbral, you will notice floating iron cells that you can use to progress. Be careful as you can fall into the vast sinkhole in here. While traversing the iron cells, you will notice a lower ground nearby that you can jump into. Before you engage, make sure you are ready as we will be engaging two mini-bosses in the lower ground.
Another way of reaching the lower ground is to reach the staircase nearest to Cistern's entrance. This is the area where the tunnel and pathway are located leading to the area where you have obtained the Sunless Skein Key. Notice that there are platforms that you can step on to reach the nearby Umbral Belly, situated on of the platforms. Soulflay it and receive Nohuta Polearm.
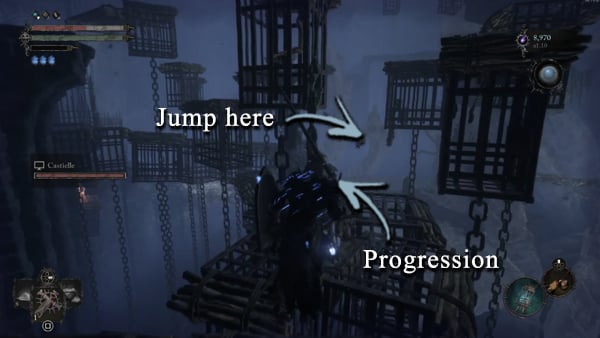
You will be dealing with three bosses at a later phase but when the battle starts, you will only be dealing with one target. These bosses are just enhanced reaper-like beings that hunt you when you stay at Umbral. On the other hand, all bringers have identical movesets and its twin, The Bringer of Nullity will only spawn when you successfully lower the Bringer of Stillness HP down to 50%. And then the last boss will spawn after a certain amount of time. Which is the Bringer of Silence. These bosses are not so hard to deal with due to their fair melee attack movesets. Timing in your attacks as usual will do the work but one thing that you need to pay attention to is their ambush attacks. What this attack does is, it will materialize itself disappear into thin air, and pull an ambush attack from the ground.
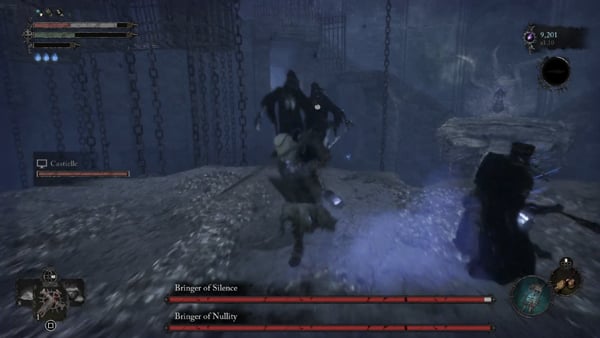
Although this fight is a little bit unfair, since it is three vs one, you can easily take out one Bringer if you focus on it. Be extra careful when fighting on this platform as you can easily fall especially when dodging attacks. Make sure you have an ample amount of space before strafing or rolling. After the fight, receive the following items as a reward. x1 Left-hand Bringer of Stillness Sword, x1 Stillness Hood, x1 Vestige Seed, x1 Dimexus and x5 Umbral Scouring. If you are having a hard time defeating these mini-bosses, you may visit our dedicated Bosses page. This page includes intricate guides on how to beat certain bosses.
Defeat The Skinstealer
Now that the mini-bosses are defeated, proceed by Soulflaying the nearest platform to activate the bridge. This will let you pass and access the shortcut nearby. However, before heading through the door, Soulflay the nearby Umbral Belly and receives a x1 Marco's Axe. After getting the loot, access the gate and unlock it, you can now access the previous areas that you explored. Head to the nearest Vestige or Vestige Seedling do your upgrades and replenish your inventory. We will be engaging another mini-boss later on. Head back to the area where you fought the mini-boss duo and instead of accessing the lower areas, head to the upper parts by traversing the staircase. Follow the staircases and eventually, you will end up in the boss arena where the Skinstealer is waiting.
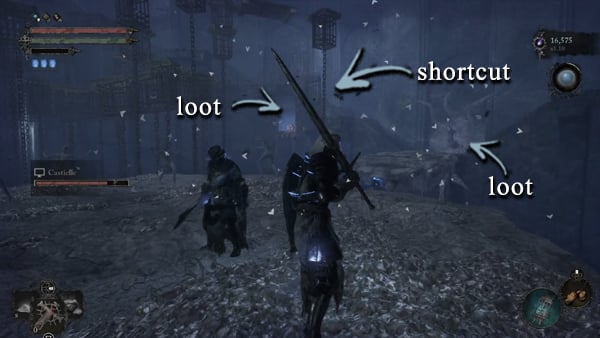
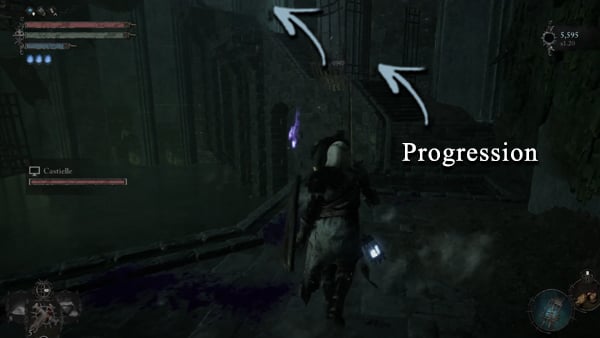
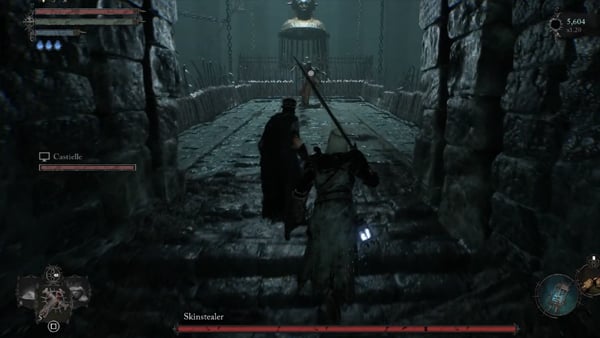
The Skinstealer relies on its cleavers to swipe targets. It looks intimidating at first but it is actually a fair enemy to engage with. Tends to deal with combination slashes and often charges towards its targets. After each attack moveset, you will notice that it will pause for a while, making this your opportunity to strike. It is advisable to wait for it to strike first and then counter afterward. Rinse and repeat and eventually, the Skinstealer will go down. Receive the following items as rewards for defeating this mini-boss, x1 Drainage Control Key, x1 Skinstealer Cleaver, x1 Skinstealer Helm, and x1 Vestige Seed.
NPC Byron & Winterberry Questline Remarks
Heed this Warning. After defeating the mini-boss in this area which is the Skinstealer, whatever happens, do not take the Bell Lift that can be found here in the boss arena. Riding the lift will completely fail Byron's Questline entirely. Since accessing the lift will trigger Byron to move to his next location. He needs to get the Pendant before anything else. After defeating the Skinstealer, you will receive the Drainage Control Key and players need to activate the Drainage Control Lever to proceed. Read further ahead to find the Drainage Control area.
Activate the Drainage Control Lever
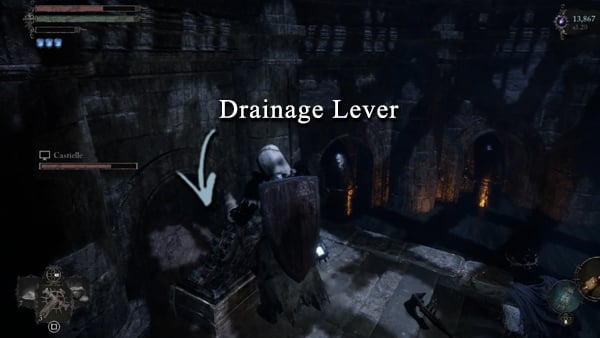
As the next objective implies, we need to activate the Drainage Control Lever and thankfully, the area is easy to locate and you've been through there if you are following this guide. Head to the locked gate and use the key to open it. Inside, you will notice a lever that you can pull. Pull it and eventually, the majority of the flooded areas around will be easily explorable since most of the flood was washed out. Get the nearest loot and receive a x1 Heavenly Vial.
NPC Byron Questline Remarks
After interacting with the Drainage Control Lever, most of the area in the Cistern will be unflooded and Revelation Depths will be now accessible. If you want to continue Byron's Questline, read further.
Head to the Caverns
To proceed, we need to head back to the tower-like area where you fought Skinstealer. However, instead of heading to the actual boss arena, we will be exploring the lower areas again. Since after you drained the flood in the surrounding areas, the water in this area subsided as well thus, you will be able to explore the cavern parts. Upon reaching the tower-like area, you will eventually notice that you can hop onto the floating cages in the lower area even without doing Umbral Rifting. Hop onto the cages and along the way, pick up the x3 Regular Deralium Nuggets situated on one of the cages. Follow the floating cages and you will eventually enter a long tunnel that will lead you to the caverns mentioned.
Explore the Caverns
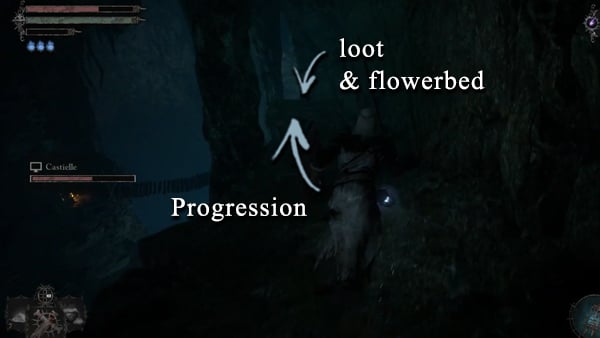
In this section, you will explore interconnected caverns and a series of scaffoldings and platforms. This is technically the start of the Revelation Depths area however, we include this section still under Cistern since we need to unlock a last shortcut later on that still leads to Sunless Skein. Follow the straightforward path here and you will find an Emergence Effigy. Continue traversing the path here and eventually, you will find a ladder that you can use to climb down to descend. After the ladder, notice that there is a loot near the beginning of the long wooden bridge. Get it to receive x1 Erratic Journal Entry. Also, the location where you stand is an Umbral Flowerbed so if you wish to activate a Vestige Seedling, you may do so. To proceed, head to the wooden bridge and cross the chasm. At the end of the bridge, notice there is another loot to pick up and upon doing so, receive a x3 Ammunition Satchel and x2 Large Manastone Cluster.
Follow the straightforward path and eventually, you will stumble upon another ladder. Head down and pick up the x3 Regular Deralium Nuggets near the ladder. Carefully proceed as there will be a Pilgrim that will try to push you to the cliffs. Clear both Pilgrims in the area and pick up the x2 Large Deralium Shards. Follow the platform and the platform and the path will split into two. Focus on the direction where a loot is located. Beware that the platform will be destroyed once you step on it. Step on the outer part of the platform to avoid falling into this trap. Get an x1 Animated Vigor Skull for the trouble. If you fall into the trap, you can easily use the nearby staircase to get the loot. On the same platform, access Umbral Rift and you will be able to cross to the other side since there is a stone platform that you can step into.
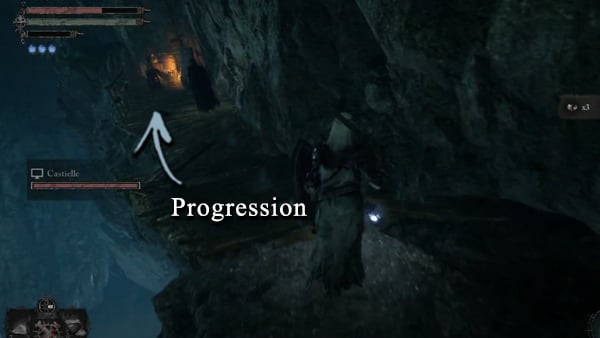
Proceed and you will notice that there is a nearby tunnel and also a wooden ladder. You pull down the ladder for later use pick up the nearby loot and receive a x1 Pertiax and x1 Pickaxe. After clearing all enemies, you can now use nearby Emergence Effigy to return to Axiom. Near the effigy, pick up the nearby loot which is a x1 Enervated Vigor Skull. There is a nearby wooden structure where you can destroy the wooden planks barricading the structure and inside it get a x1 Shovel-Head. Head out and near the Effigy, notice that there is a tunnel that is barricaded with planks. Destroy it, clear the enemies inside, and receive x2 Large Deralium Shards. This is a dead as well and to proceed, head to the ladder's direction and there is another tunnel that leads to a dead end. Get a x3 Regular Deralium Nuggets in this area. Head back to the ladder and head to the lower parts of the caverns. As soon as you get off the ladder, get the x1 Old Mournstead Pike from a dead body.
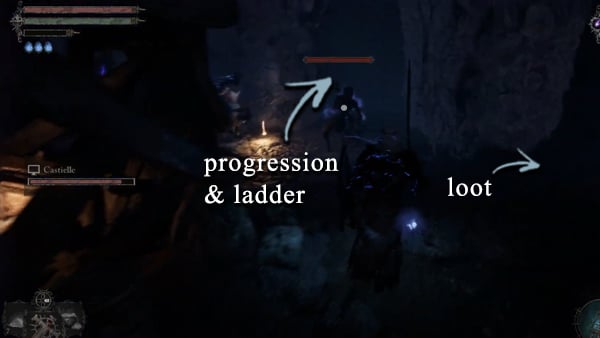
Activate the Lift
Upon existing in the tunnel you find yourself in the lower areas of the caverns. Get the nearest loot which is a x1 Replete Vigor Skull. Not far from your location is an exit that will lead to more scaffoldings and platforms. We are about to complete this area. Follow the cliffs and eventually reach an area where Corrupted Penitents are waiting before the actual scaffoldings. Clear the enemies get the x2 Large Deralium Shards and proceed to the scaffoldings. There's a ladder nearby, use it to get to the lower areas. Near the lift, there's a Pilgrim who will try to throw magic spells on you. Clear it out and access the lift by stepping on it.
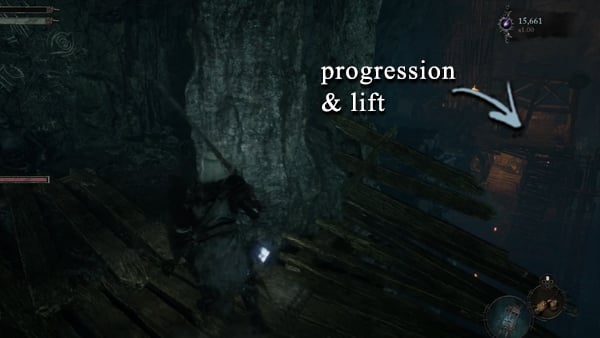
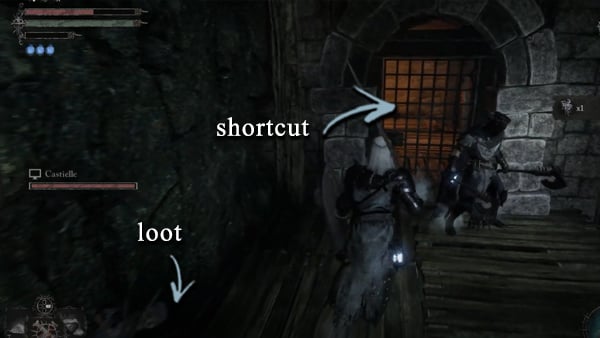
This lift will lead you to the area where Byron can be found in Sunless Skein, near the Vestige of Katrin. However, before accessing the Vestige of Katrin, you need to unlock the locked shortcut first and get the nearby loot which is a x1 Miner's Desperation. Do so and rest to recuperate. We will now leave the area for now and there will be mini-bosses in this area. We have already explored the majority of Sunless Skein and Cistern by this moment.
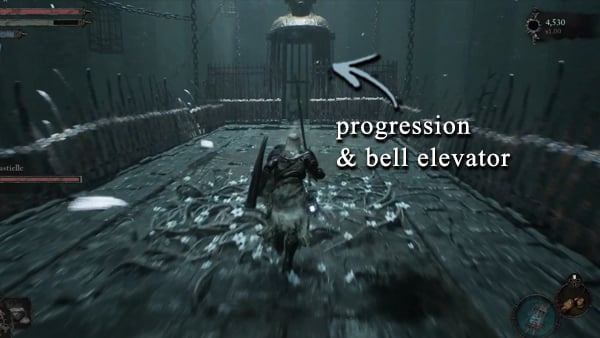
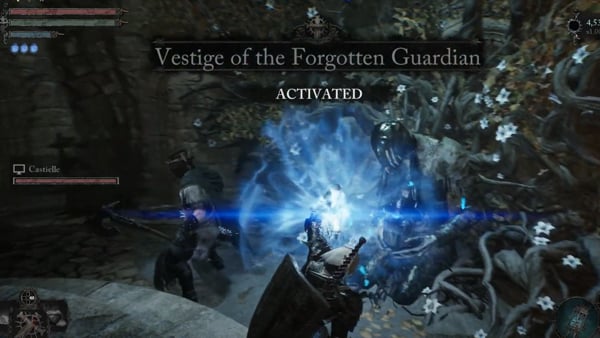
If you are done with your preparations, head to the area where you fought the Skinstealer and access the Bell Elevator. This will lead you to a completely new area which is called Upper Calrath. Before anything else, after taking the lift, activated the Vestige of the Forgotten Guardian. Since we already unlocked the key checkpoints in Sunless Skein, Cistern, and the Vestige of Forgotten Guardian, you do have the option to explore the Upper Calrath section later on, and also you can visit the Revelation Depths by accessing the shortcut and riding the lift near Vestige of Catrin.
Cistern Map
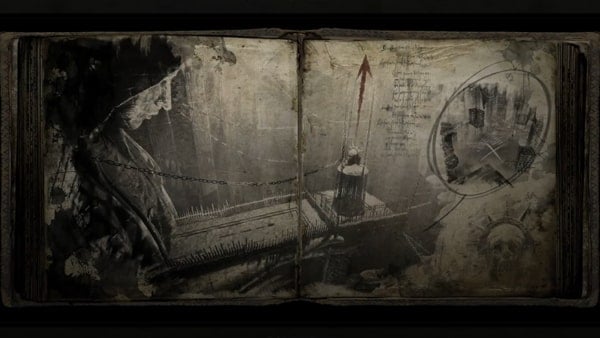
Cistern Videos
Videos Related to this Location
 Anonymous
"As the next objective implies, we need to activate the Drainage Control Lever and thankfully, the area is easy to locate and you've been through there if you are following this guide." --> this is obnoxious and counterintuitive to what a guide should be doing. GUIDE us back to that place.

 Anonymous
"do not use the elevator"
*moments later*
"use the elevator"
this is fextralife, I'd be surprised if they DIDNT immediately contradict themselves and make a non-sh(te guide xD god this site sucks
 Anonymous
Behind he elevator there is a belly you can soulflay in umbral to obtain the weapon Veil Piercer.

 Anonymous
Props for finally putting in the warning about Winterberry and the lift....too bad it wasn't put in earlier, I screwed it up and literally created a new character because of it.

 Anonymous
Love how this guide stops before you reach winterberry and ruins the quest for you
DONT TAKE THE SECOND LIFT EITHER UNTIL YOU TALK TO WINTERBERRY
 Anonymous
If you use the lift to exit the cistern Byron kills an NPCs and you failed his quest. In order to not to, you have to go Revelation Depths and speak to winterberry, and NPC, then speak to Byron.

 Anonymous
Yeah I accidentally used the lift and Byron is now gone, ****ing rip.
Also those three wraith bosses are pretty easy to deal with if you can draw the bridge, if you get all three on the bridge they can't get off unless they attack you, so you can just take one off, fight it 1v1 kill it, the on the the next. Was really easy with that exploit.
 Anonymous
DO NOT go to the elevator that leads up past skinstealer or you will break questline and lose an npc merchant that the GUIDE doesn'twarn us about. lost her by following this half assed guide :(

Possibly the other one regenerated. Because when I was about to kill the other boss and did a critical strike on it, it respawned with full health. Path there were two bosses only.

 Anonymous
on "DEFEAT THE BRINGER OF SILENCE AND NULLITY" i faced x3 bosses not 2 when i killed one the 3rd spwan


ok this is a bit arse-about. the next area should be revelation depths, not upper calrath because of quest reasons. avoid the bell elevator! i love this site and these walkthroughs but we got a bum-steer here. dear beloved fextralife please don't earn our trust then f*ck us like this. we still love you but you dropped the ball on this one. we appreciate all your hard work and help though for the vast majority of time. lucky i checked google and didn't bugger up mi mate byron and the pendant for his chick. also i agree you were extremely unclear regarding the drainage key lever location, i had no idea where to go with that, i was pulling levers all over the place. anyway whatever, i'll get there eventually. i know you guys mean well, thank for the help. praise the lamp [T]/ (i love lamp)
0
+10
-1