Herald of the Maw Mask is a Heavy Head Armor in Lords of the Fallen (LotF). Herald of the Maw Mask is part of the Herald of the Maw Set, it is a heavy armor piece that was released in Patch v.1.1.414 or part 2 of the "Season of Revelry". Players must complete a unique quest to acquire the umbral armor set.
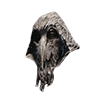
A hooded mask created by the Nohuta and once worn by the Herald of the Maw.
History contains multiple instances of entire communities vanishing overnight, bustling settlements suddenly empty come dawn. While numerous theories have been offered to explain such mysterious occurrences, very few know the truth: that said places were visited by the Herald of the Maw.
Where to find Herald of the Maw Mask in Lords of the Fallen
Herald of the Maw Mask can be found at:
We recommend doing the following steps to acquire the Herald of the Maw Set in Lords of the Fallen:
Step 1: Reach the Umbral Shrine inside the Revelation Depths.
- From the Vestige of Catrin, you can take the elevator shortcut if you've already unlocked it, then you'll need to do some backtracking to get to the shrine.

- If you don't have the shortcut unlocked, follow the tracks to the right and continue following it, you will then reach a tunnel, be wary of enemies you'll encounter along the way. After you exit the tunnel, continue following the tracks, and once you exit a room, you'll notice the tracks will lead you to the left side. Ignore the tracks and continue heading north. Follow the path and take a left, go down the ladder and drop down on the wooden planks below. You will take damage from this fall so make sure you have enough health to make up for it, then have a consumable ready to recover your HP.
- Follow the path and you'll reach another tunnel. Continue following the path then turn right, you'll reach Revelation Depths. Keep moving forward until you see a bridge. Cross the bridge and continue progressing. Stick to the right part of the path, then drop down, and head slightly northeast from where you just dropped, and you'll reach the shrine.
Step 2: Perform the Putrid Mother's Embrace Gesture.
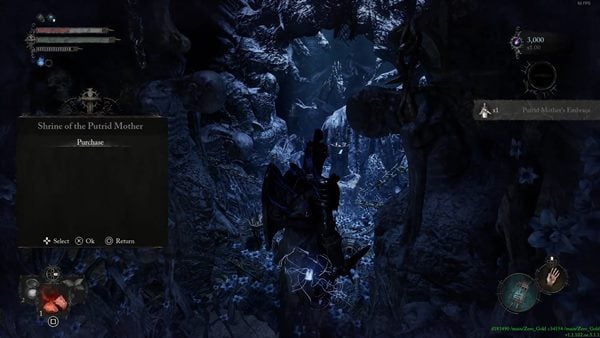
- If you don't have this gesture yet, you can acquire it by interacting with the Shrine of the Putrid Mother in Skyrest Bridge.

- After performing the gesture, you will hear three different notes playing constantly as long as you're within the area. The three notes consist of a low, a medium, and a high pitch. You will need to take note of these notes as it is needed to solve the puzzle moving forward.
Step 3: Ignite the braziers in order based on the notes played upon performing the gesture.
- Each brazier around the area plays one of the three notes you heard upon performing the gesture, and you'll need to ignite all three of them in the correct order to match the notes played from the shrine. For the first sequence, you'll need to follow this order: Low pitch, Medium pitch, High pitch.
- You'll know when you did them in the correct order as when you ignite a brazier, it will stay lit. If you try to ignite a brazier in an incorrect order, the flame will go out and you'll have to restart the whole sequence.
- The sequence will be the same for everyone as well as where the braziers are placed. But there are more braziers in the area that you can activate that all have different notes, so it's possible for you to find braziers in different locations than others, and as long as you follow the correct order in igniting the braziers, you can still complete the sequence.
- For this first sequence, you'll find the first three braziers very close to each other near the shrine.
- Once you've completed a sequence, the fires you've lit on the brazier will turn blue, letting you know you've done it correctly.
Step 4: Head back to the shrine and listen to the second sequence.
- For the second sequence, you'll need to follow this order: Medium pitch, Medium pitch, Low pitch.
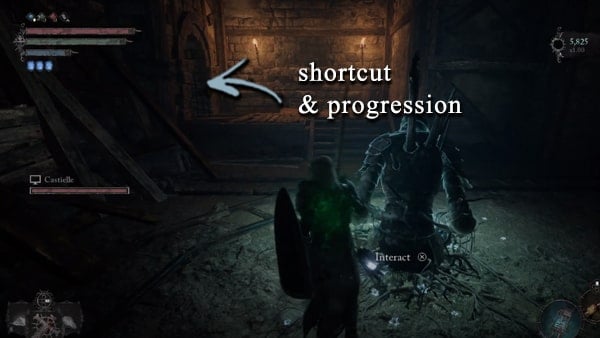
- For this sequence, you'll find the three braziers around the middle of the vestige spawn next to the shortcut.
Step 5: Return to the shrine one last time and listen to the third sequence.
- For the third sequence, you'll need to follow this order: High pitch, Low pitch, Medium pitch.
- For this sequence, you'll find the three braziers around the ladder down from the gargoyles.
- After successfully igniting the braziers, you will hear a music play letting you know you've completed all the sequences successfully.
Step 6: Find the Umbral Belly inside Harrower Dervla's boss room and obtain the Herald of the Maw Set.
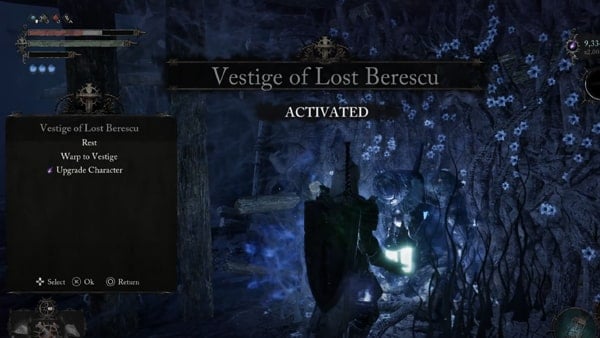
- You can make your way down the Revelation Depths to get there if you prefer to go on foot, or you can use a Vestige Moth to warp back to your seedling and reach the Vestige of Lost Berescu.

- Once you reach the boss room, enter the Umbral realm and you'll see an Umbral Belly inside the mouth of a giant skeleton just up ahead. Soulflay the Umbral Belly and you'll receive the Herald of the Maw Set along with the Horned Skull weapon.
Herald of the Maw Mask Set in LOTF
- Herald of the Maw Mask is a piece of the Herald of the Maw Set
- The rest of the set is composed of the following: Herald of the Maw Armour, Herald of the Maw Gauntlets, and Herald of the Maw Leggings.
Lords of the Fallen Herald of the Maw Mask Notes & Tips
- Notes and player tips go here
 Anonymous
For the second sequence, when you say around the shortcut is super vague because there are 2 elevators that are short cuts and there is the door back to Catrin that is a short cut so I’m lost


Never seen a worse way to give directions… who wrote this crap
1
+10
-1